challenge ultra edc backpack / bag build
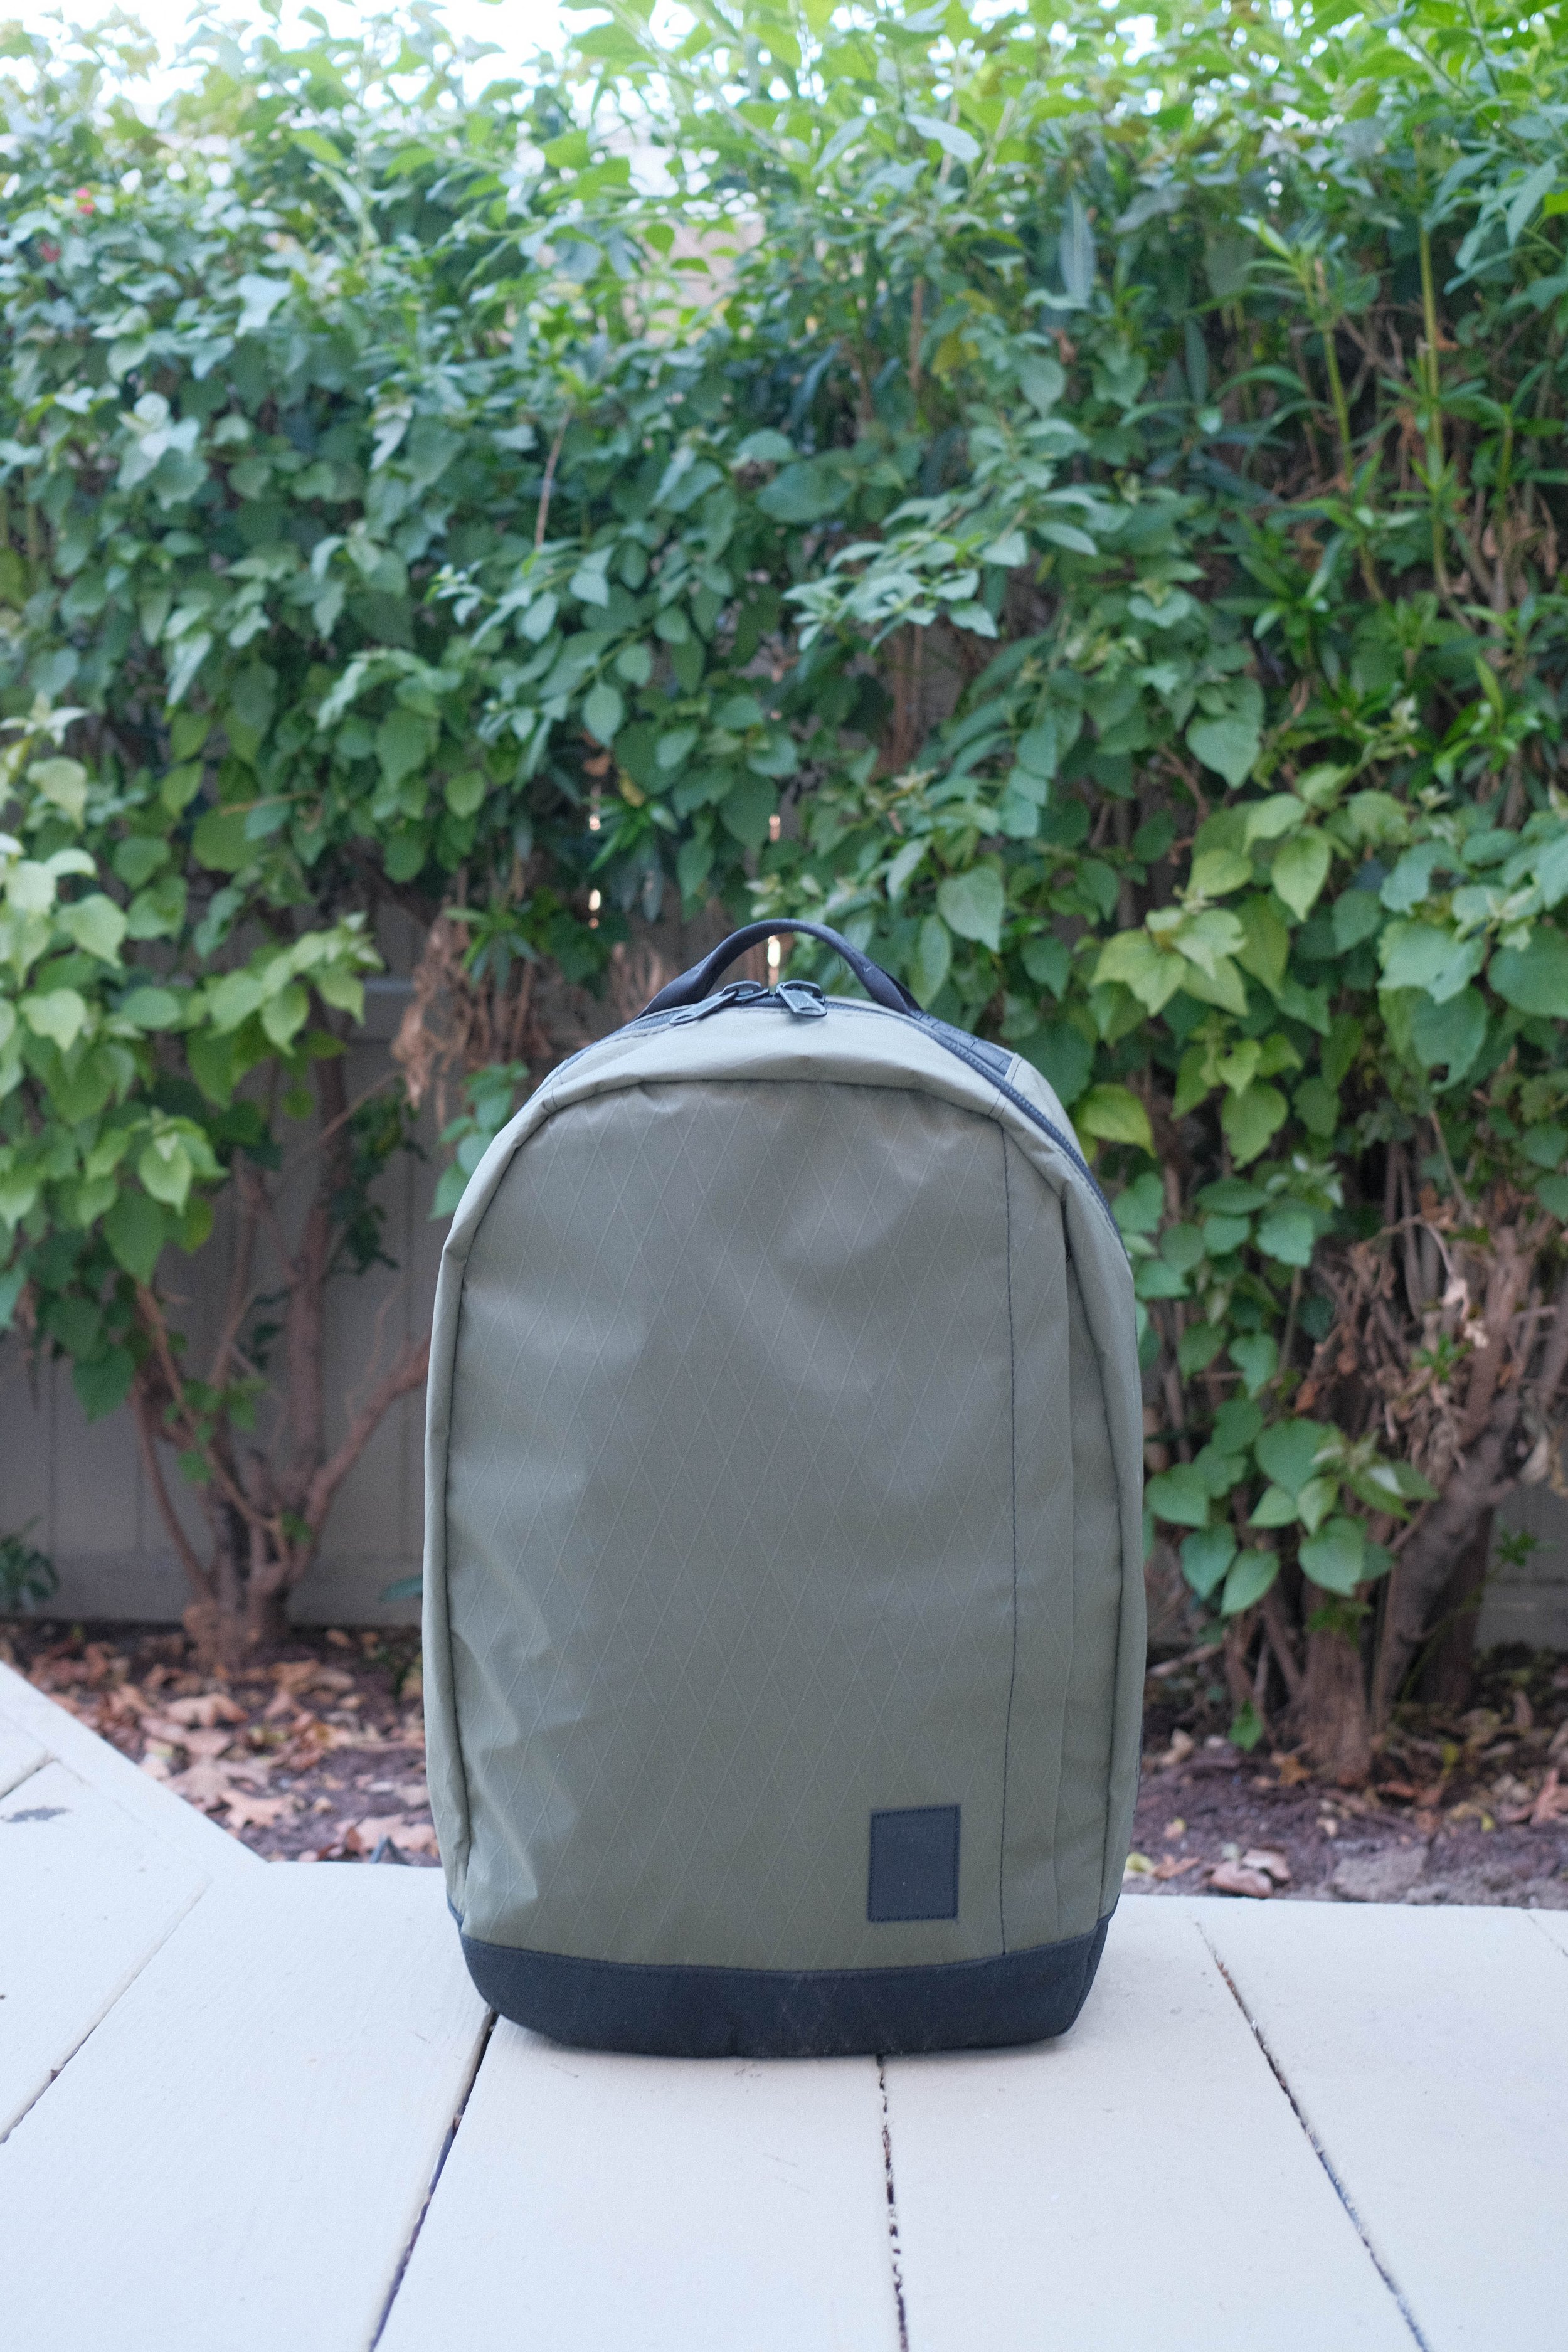
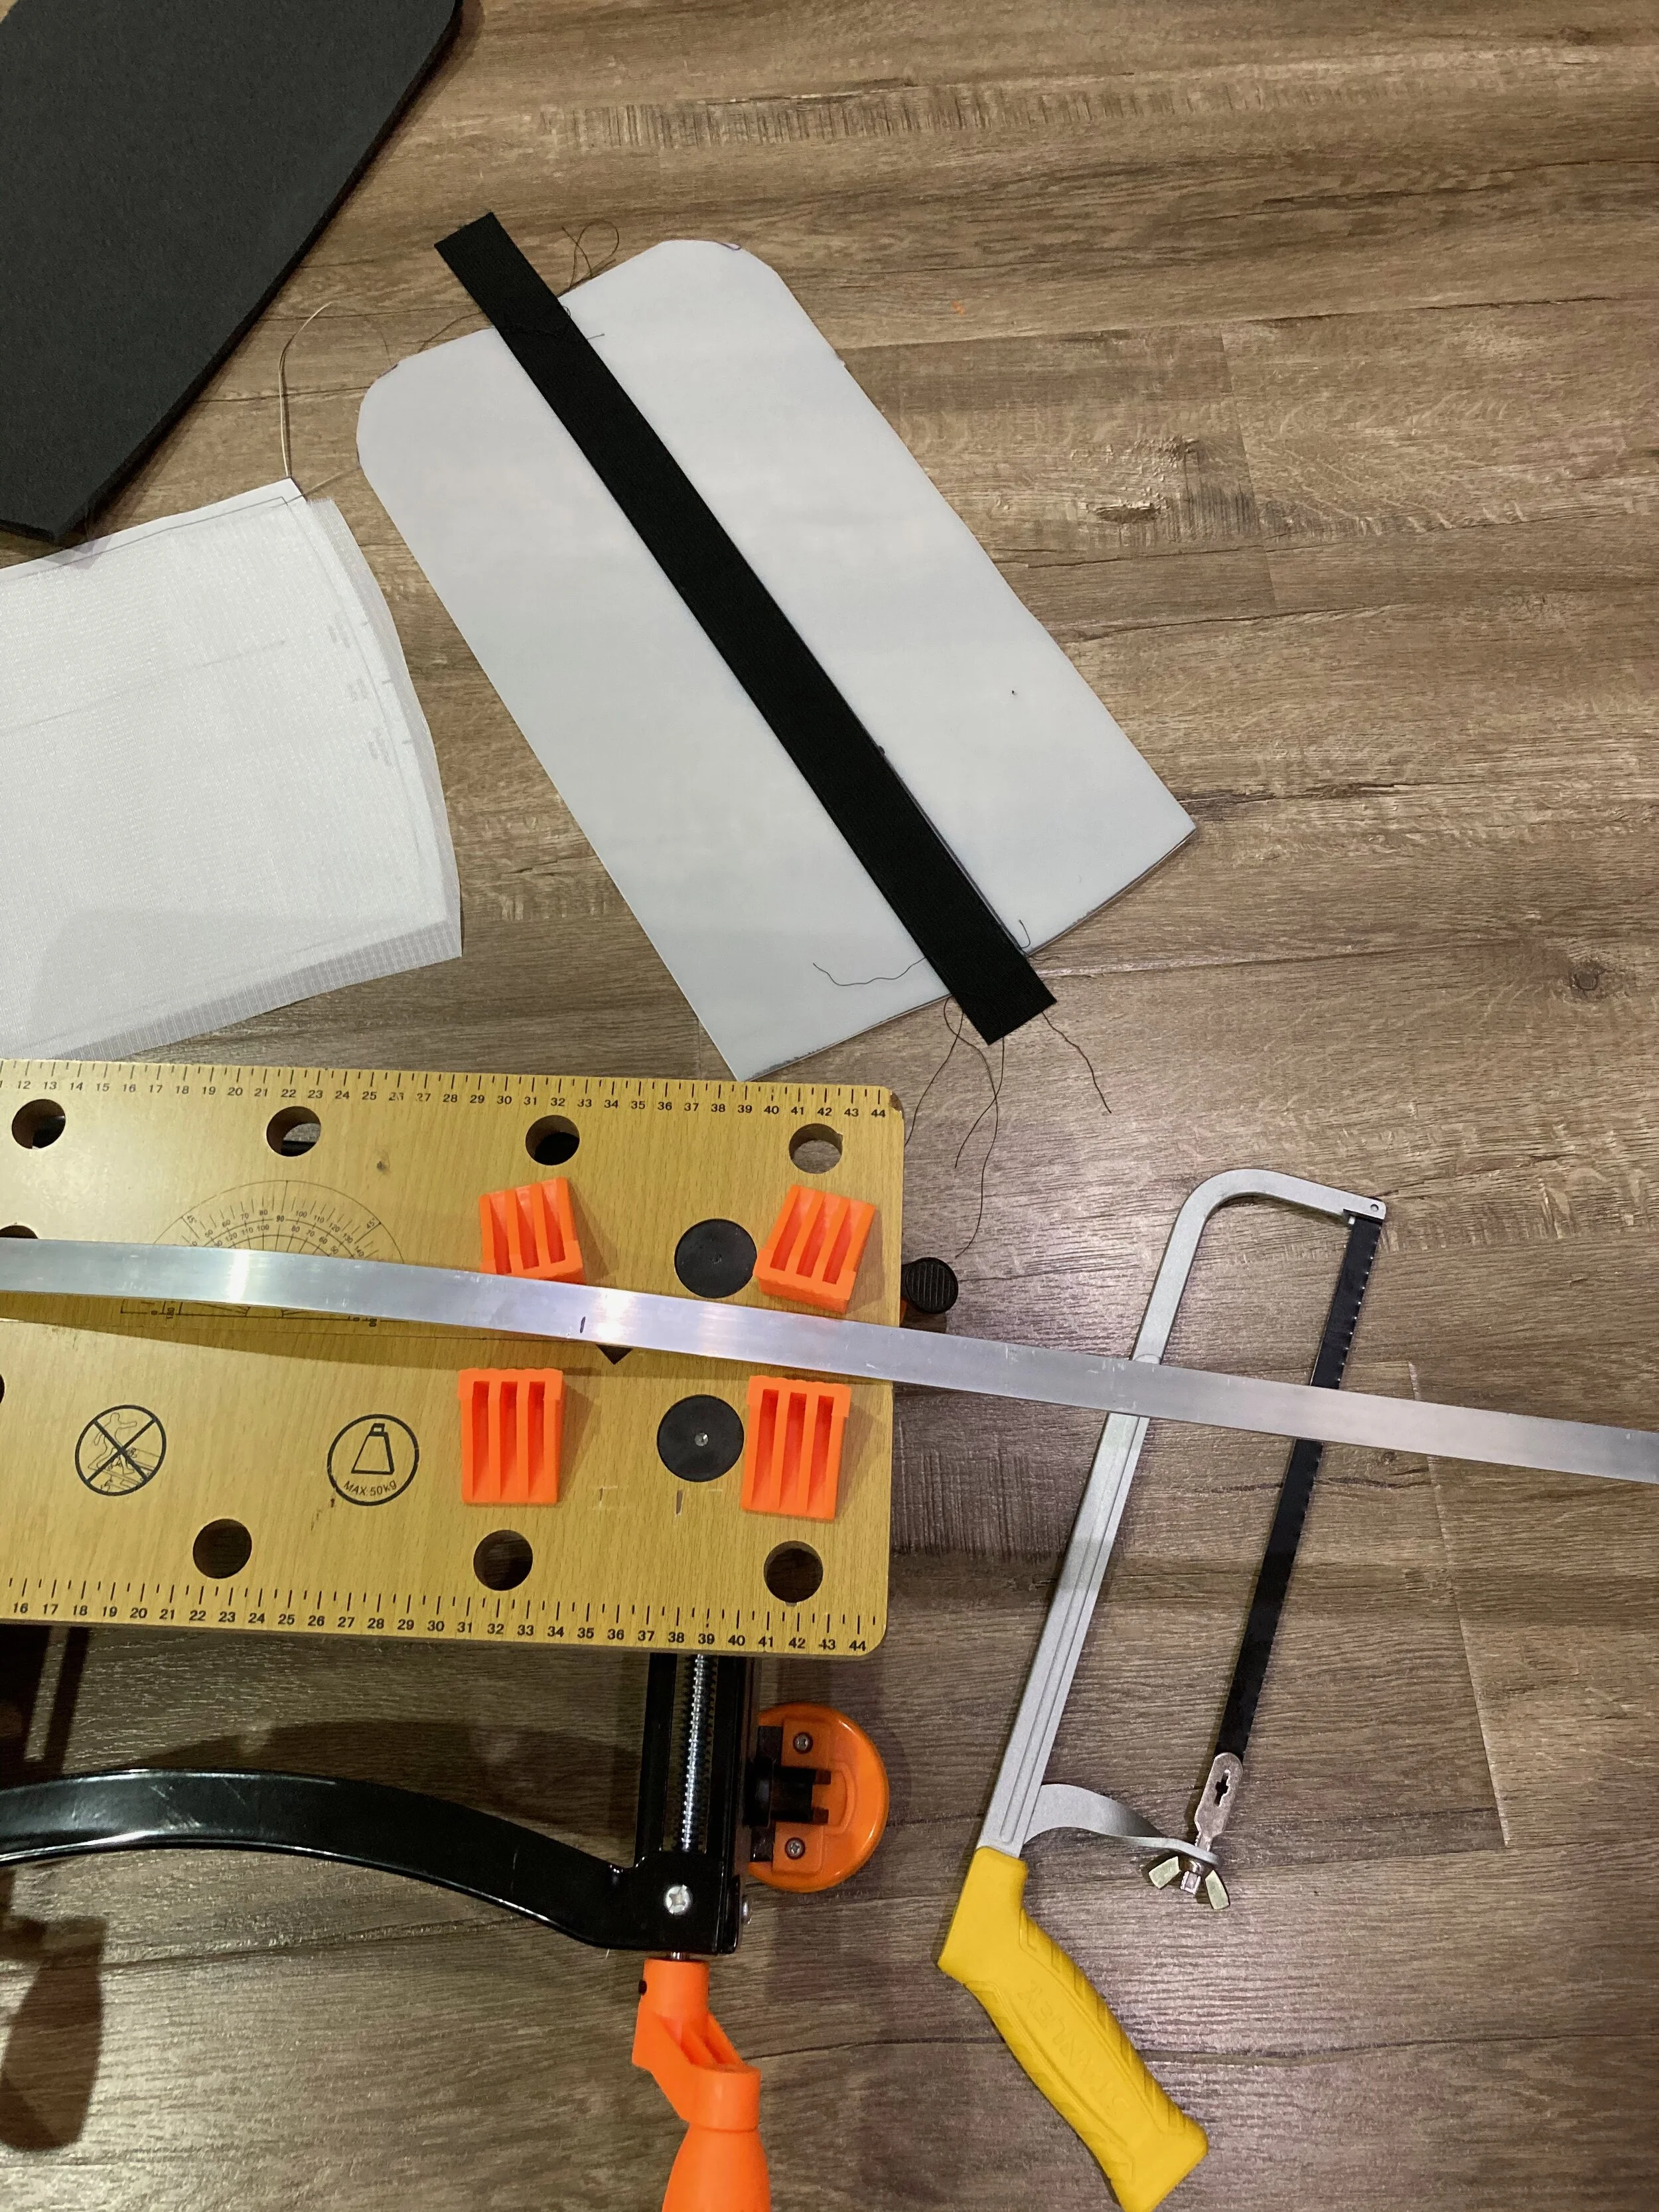
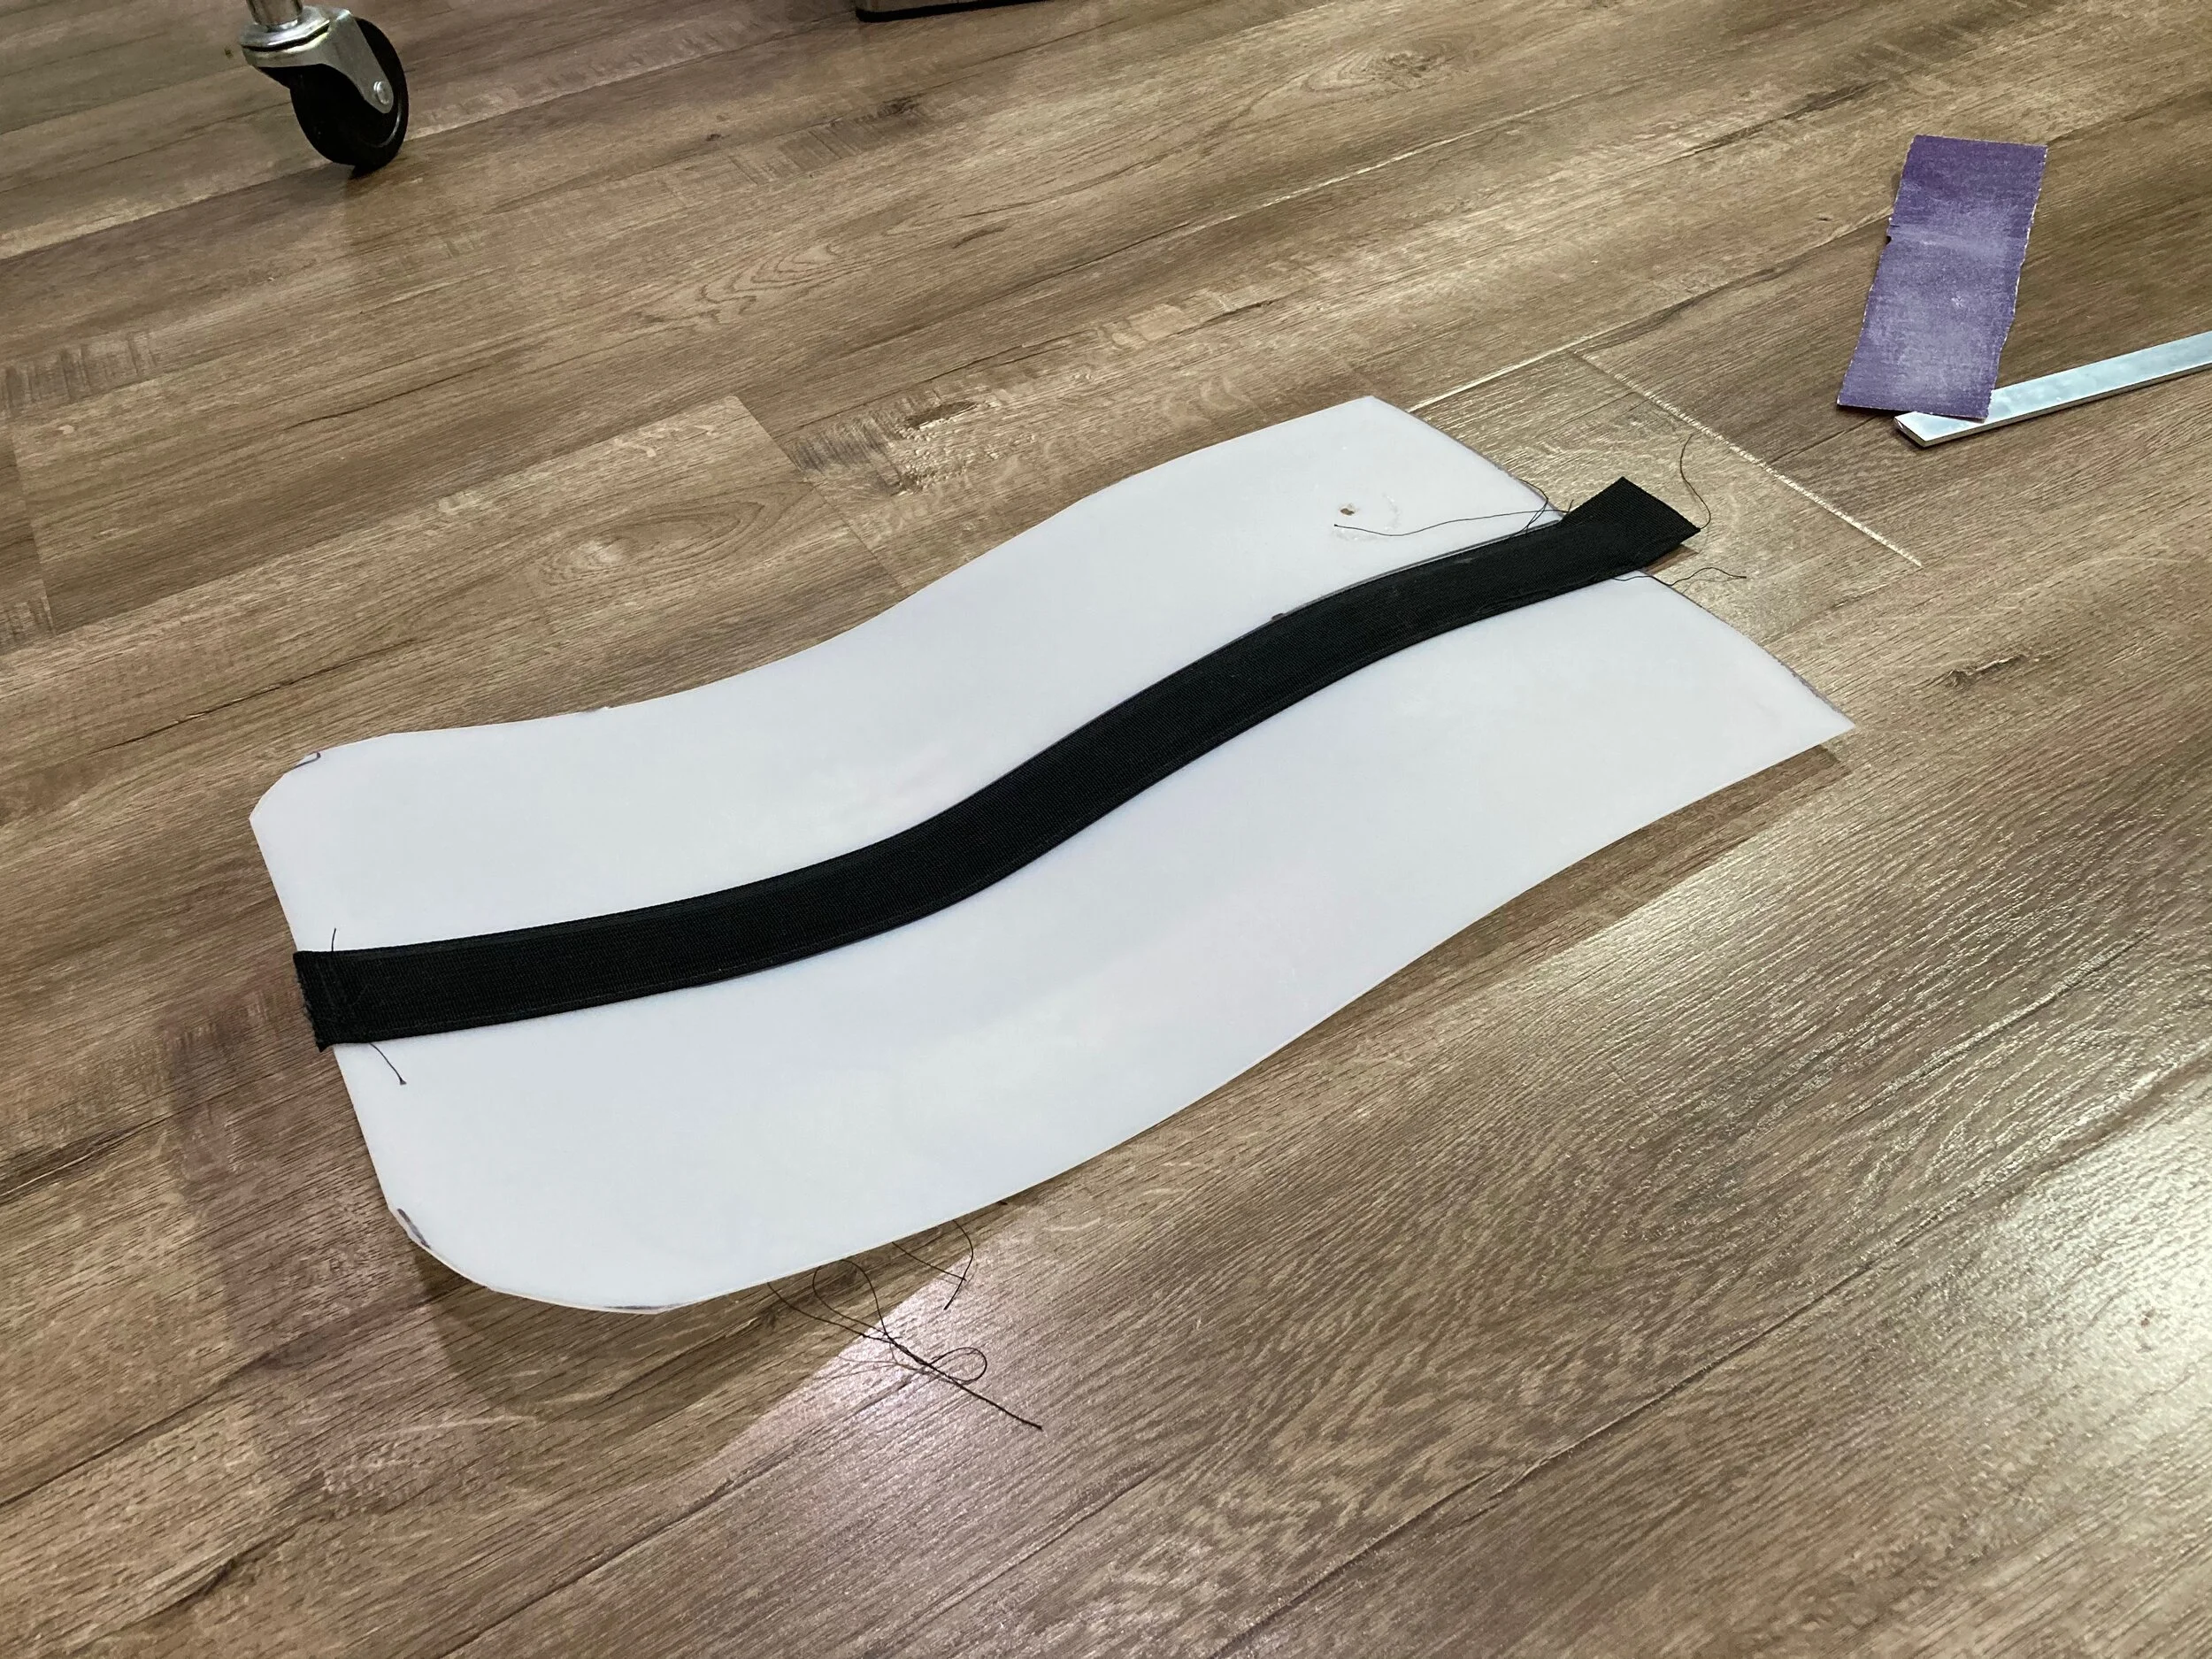
I finally got around to making v2 of a mini EDC rolltop backpack (essentially my backpack purse) that I first conceptualized around my birthday last year. I wanted something light, comfortable, and easy to access. I learned from v1 last year that I also wanted the back and bottom to be padded since I often carry a camera or a tablet, and that roll tops don't work that well without some structure to the fabric. The first version was made entirely from CORDURA® and Dyneema, which was incredibly light but way too floppy for daily use.

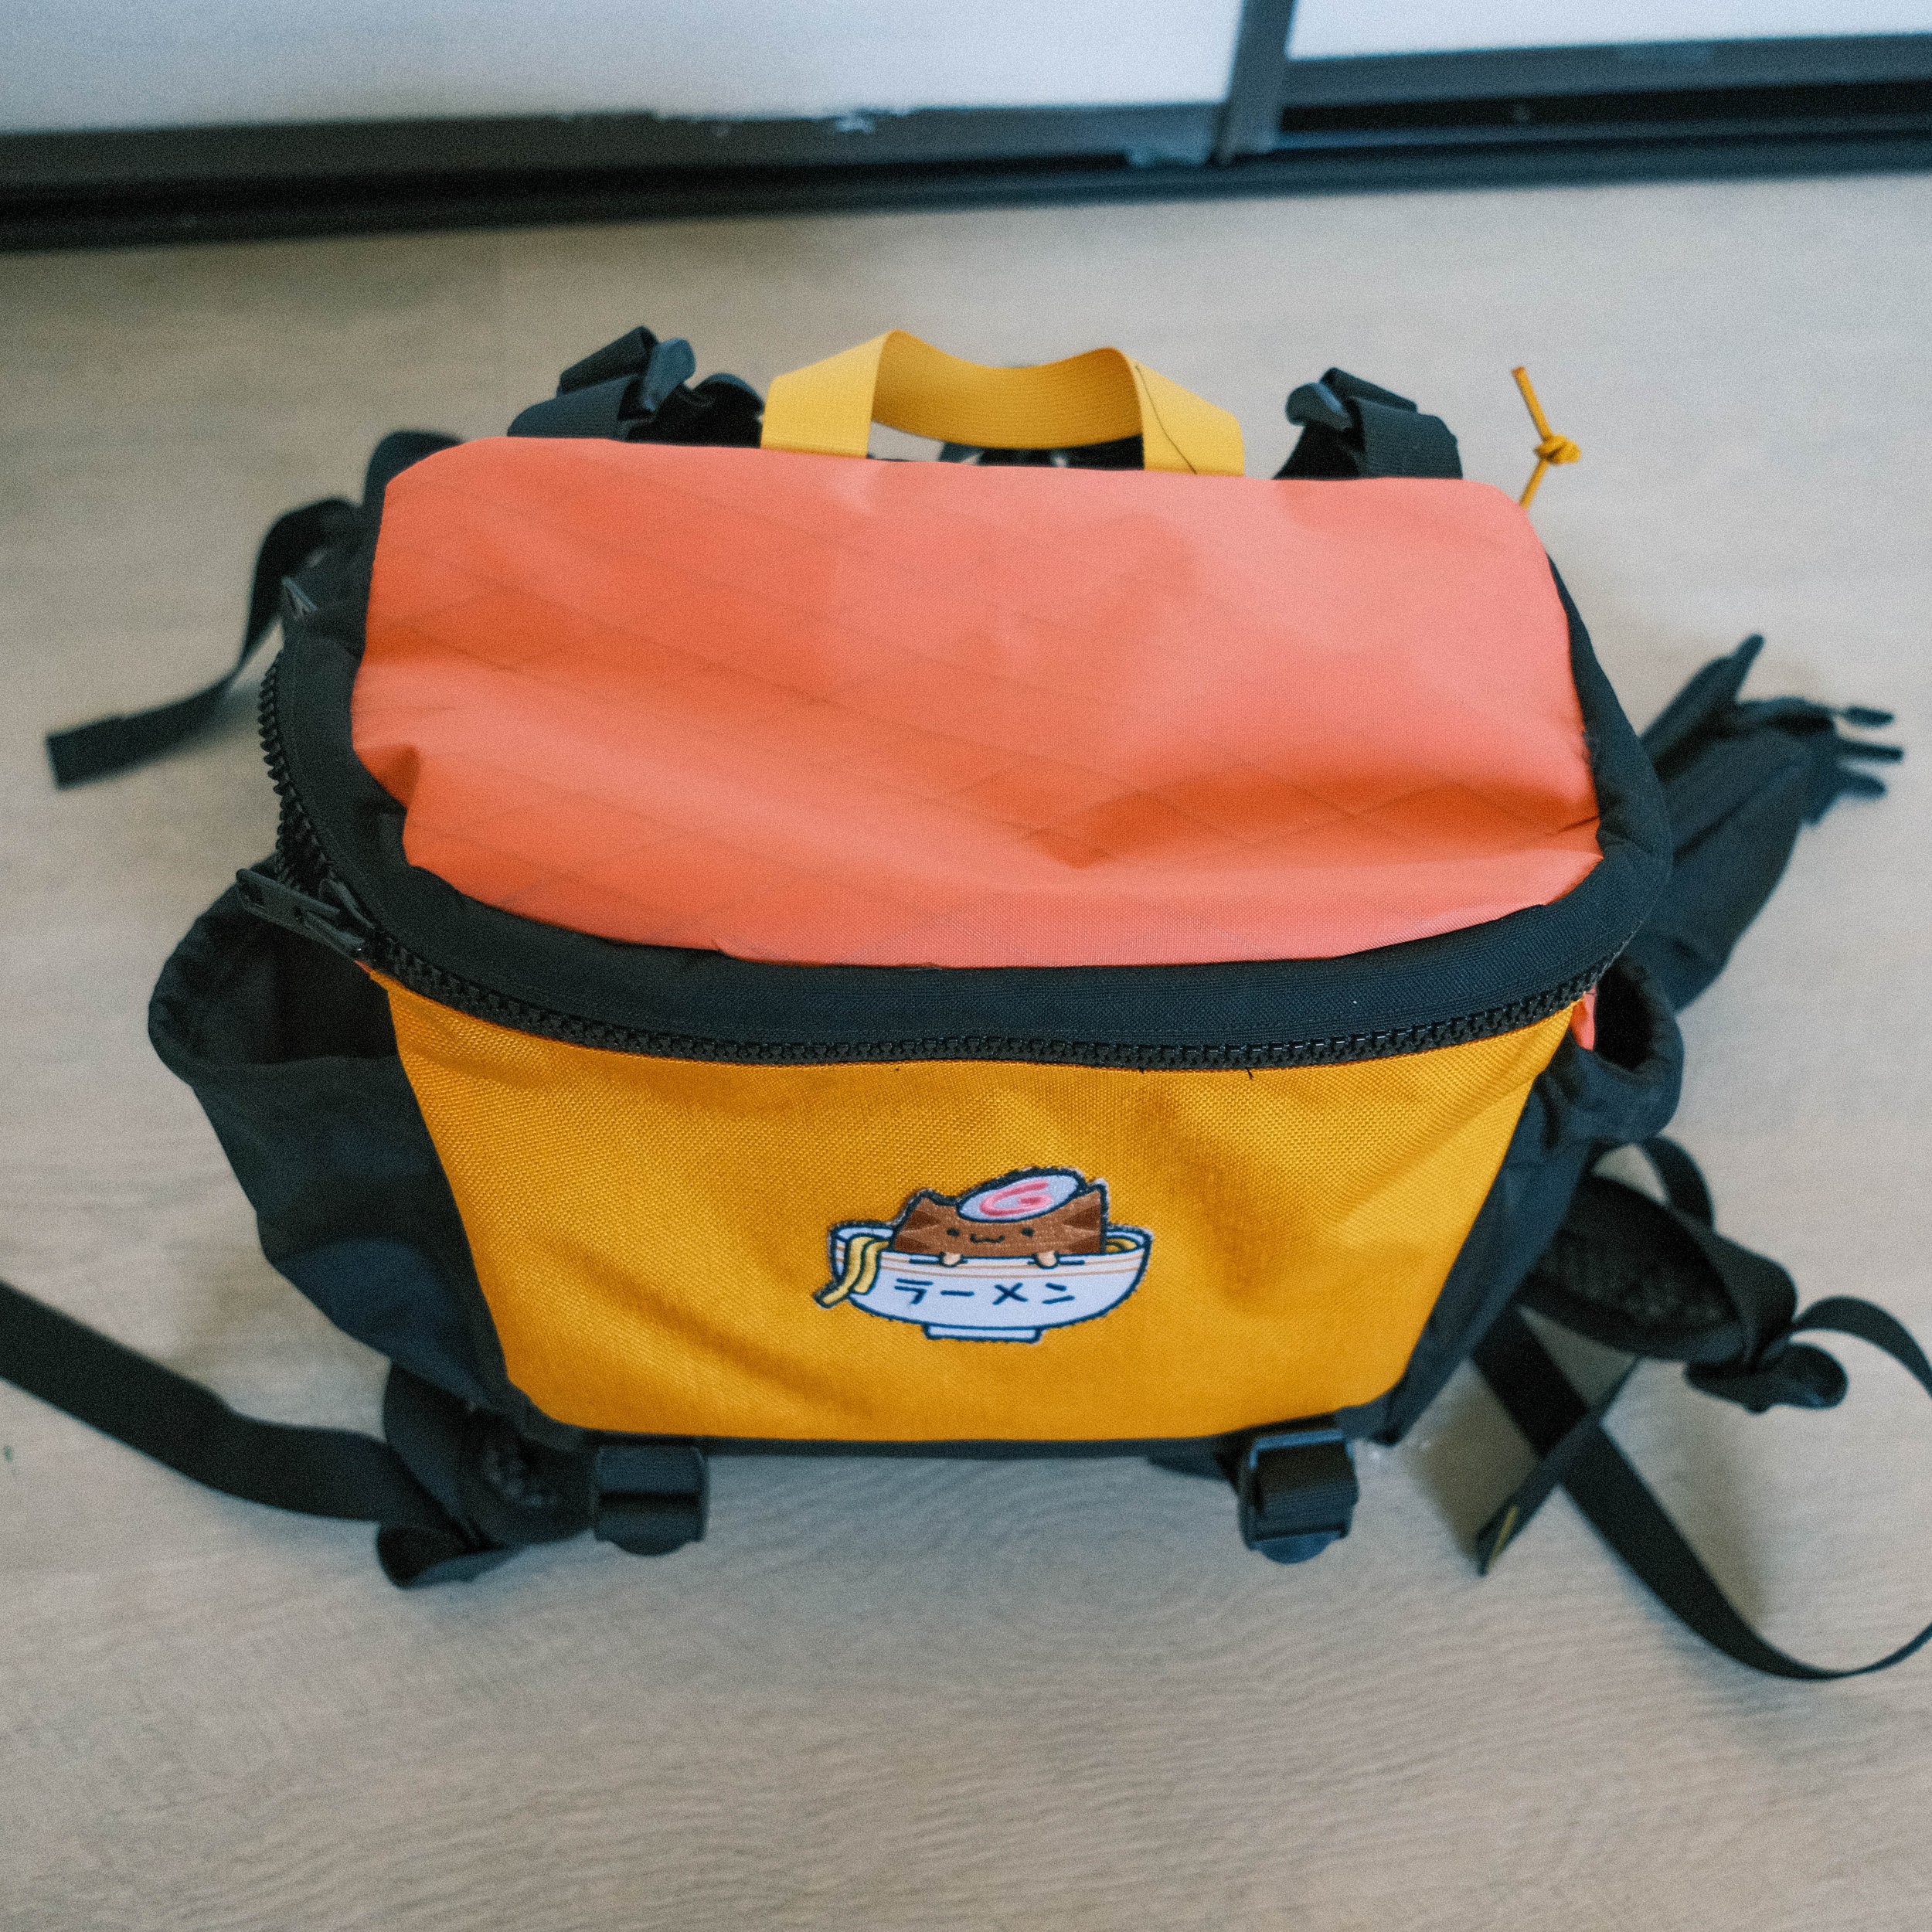
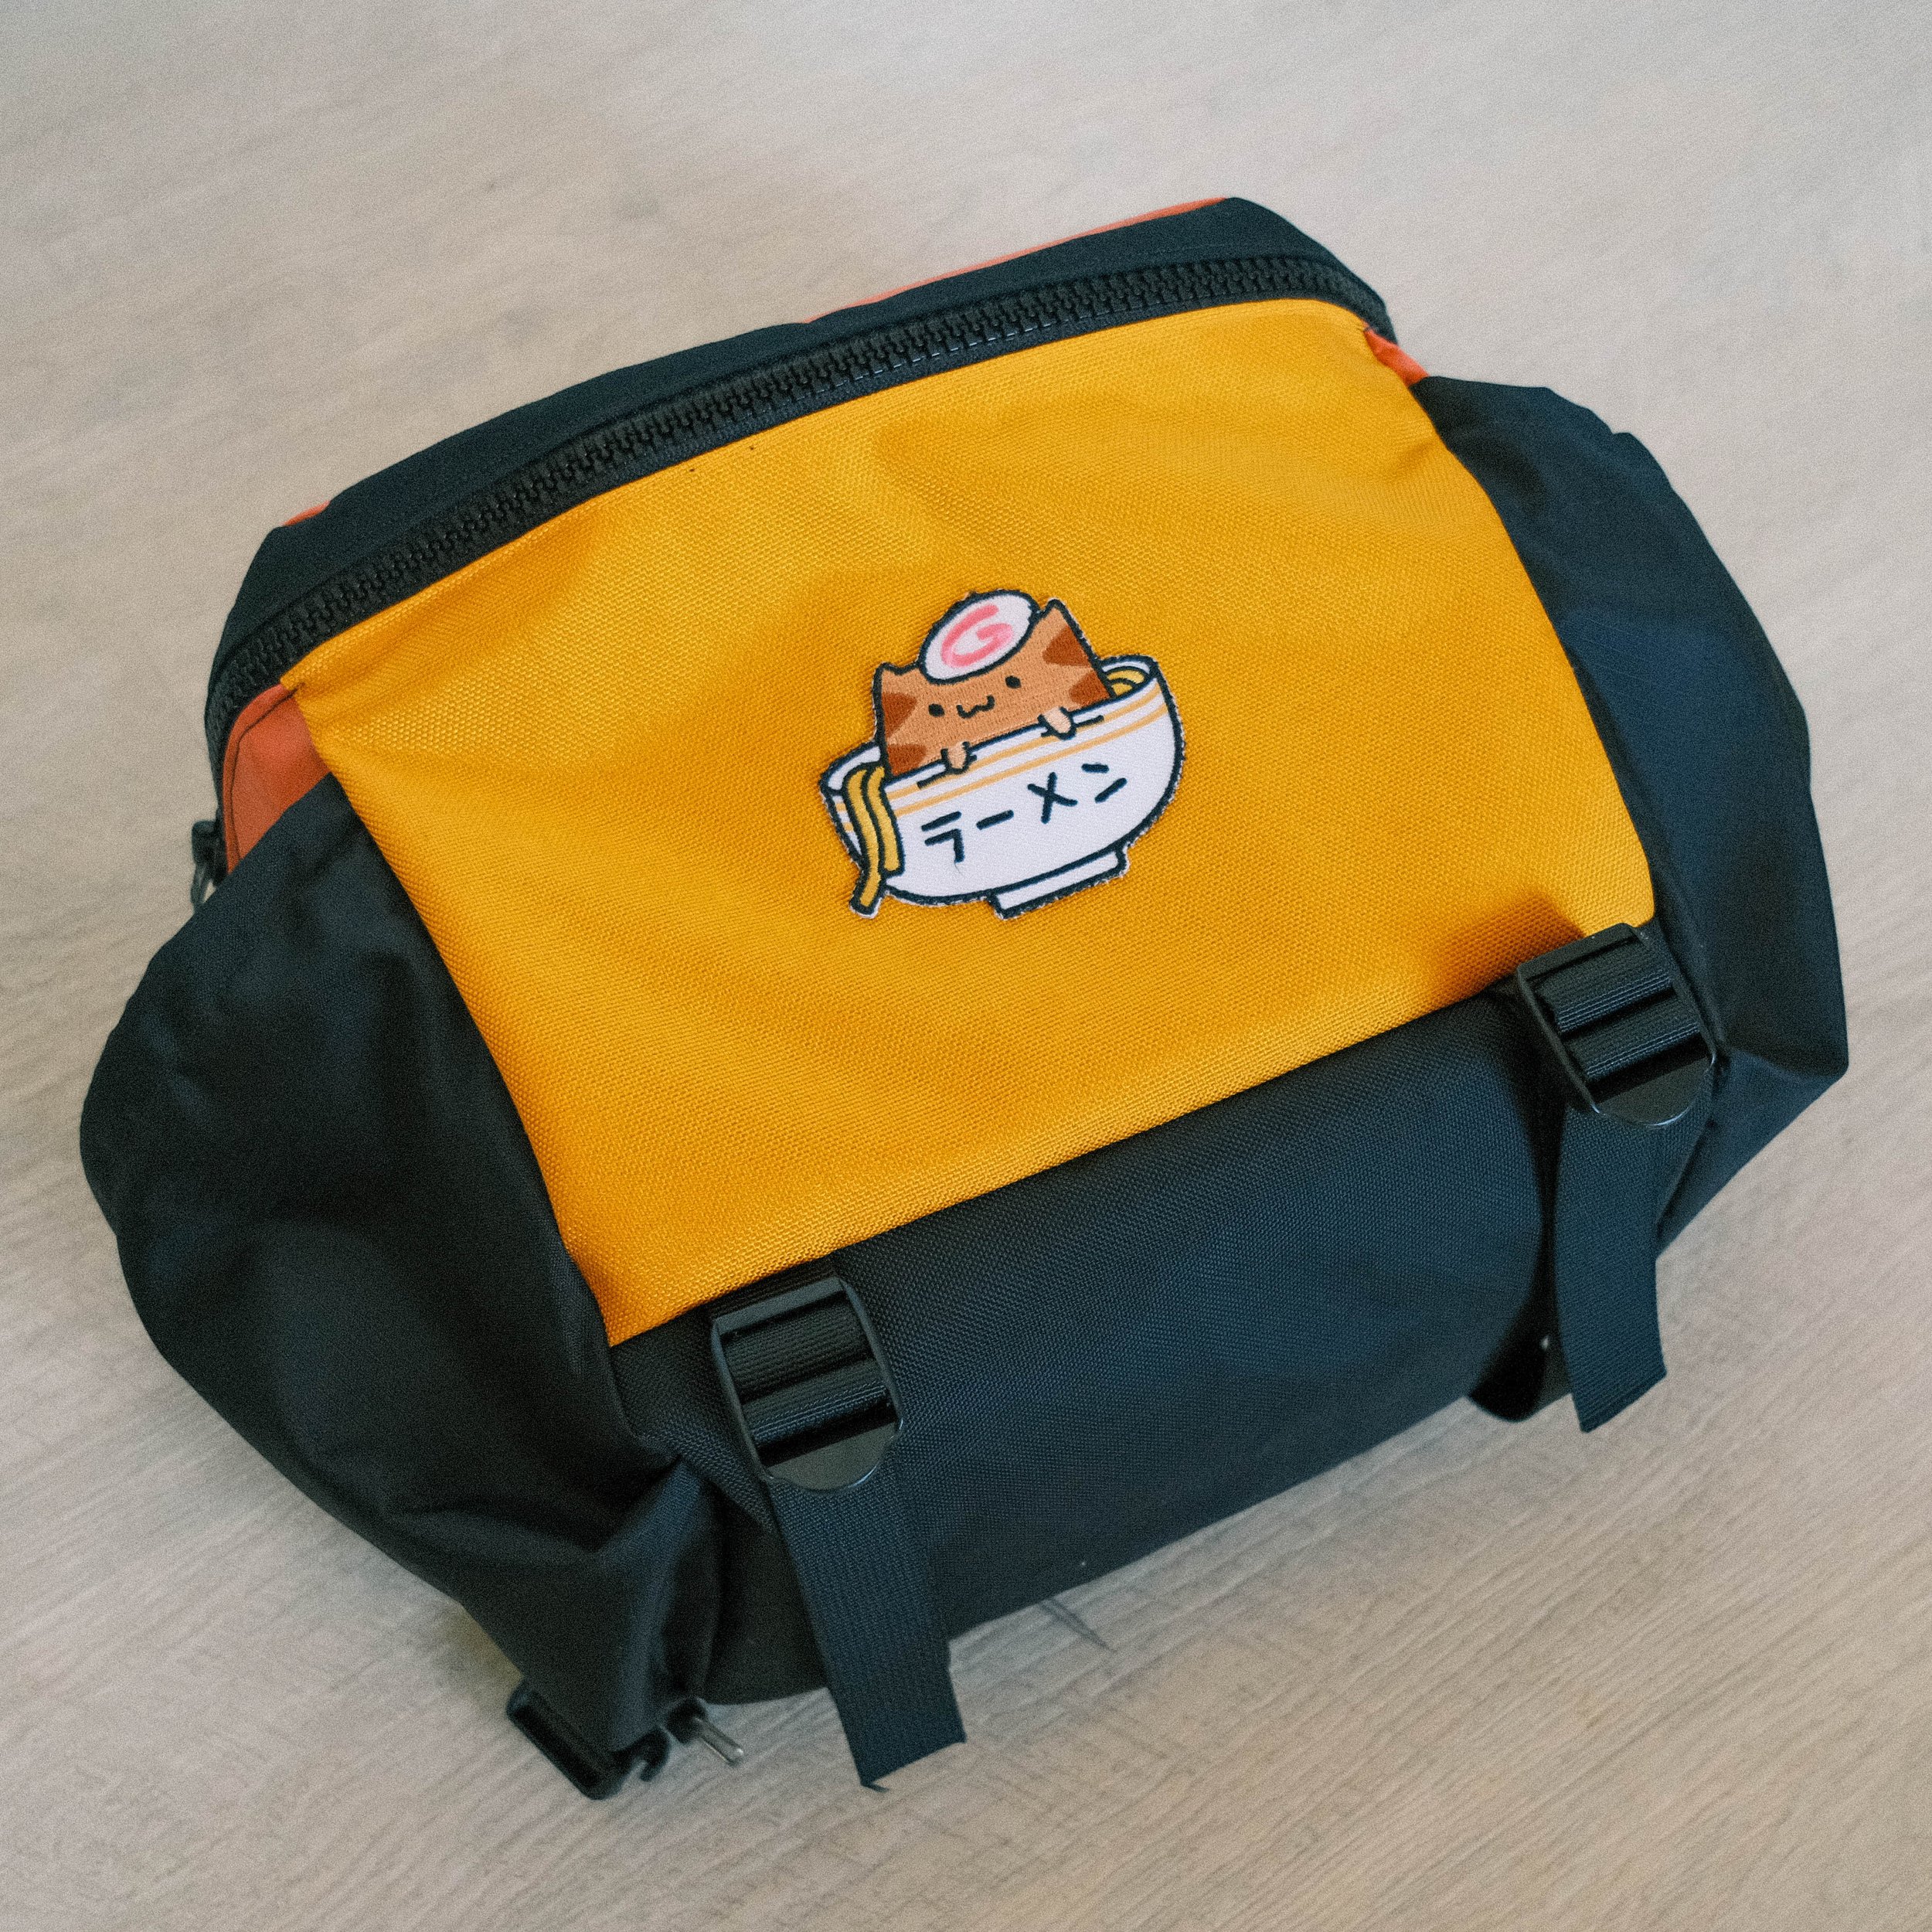
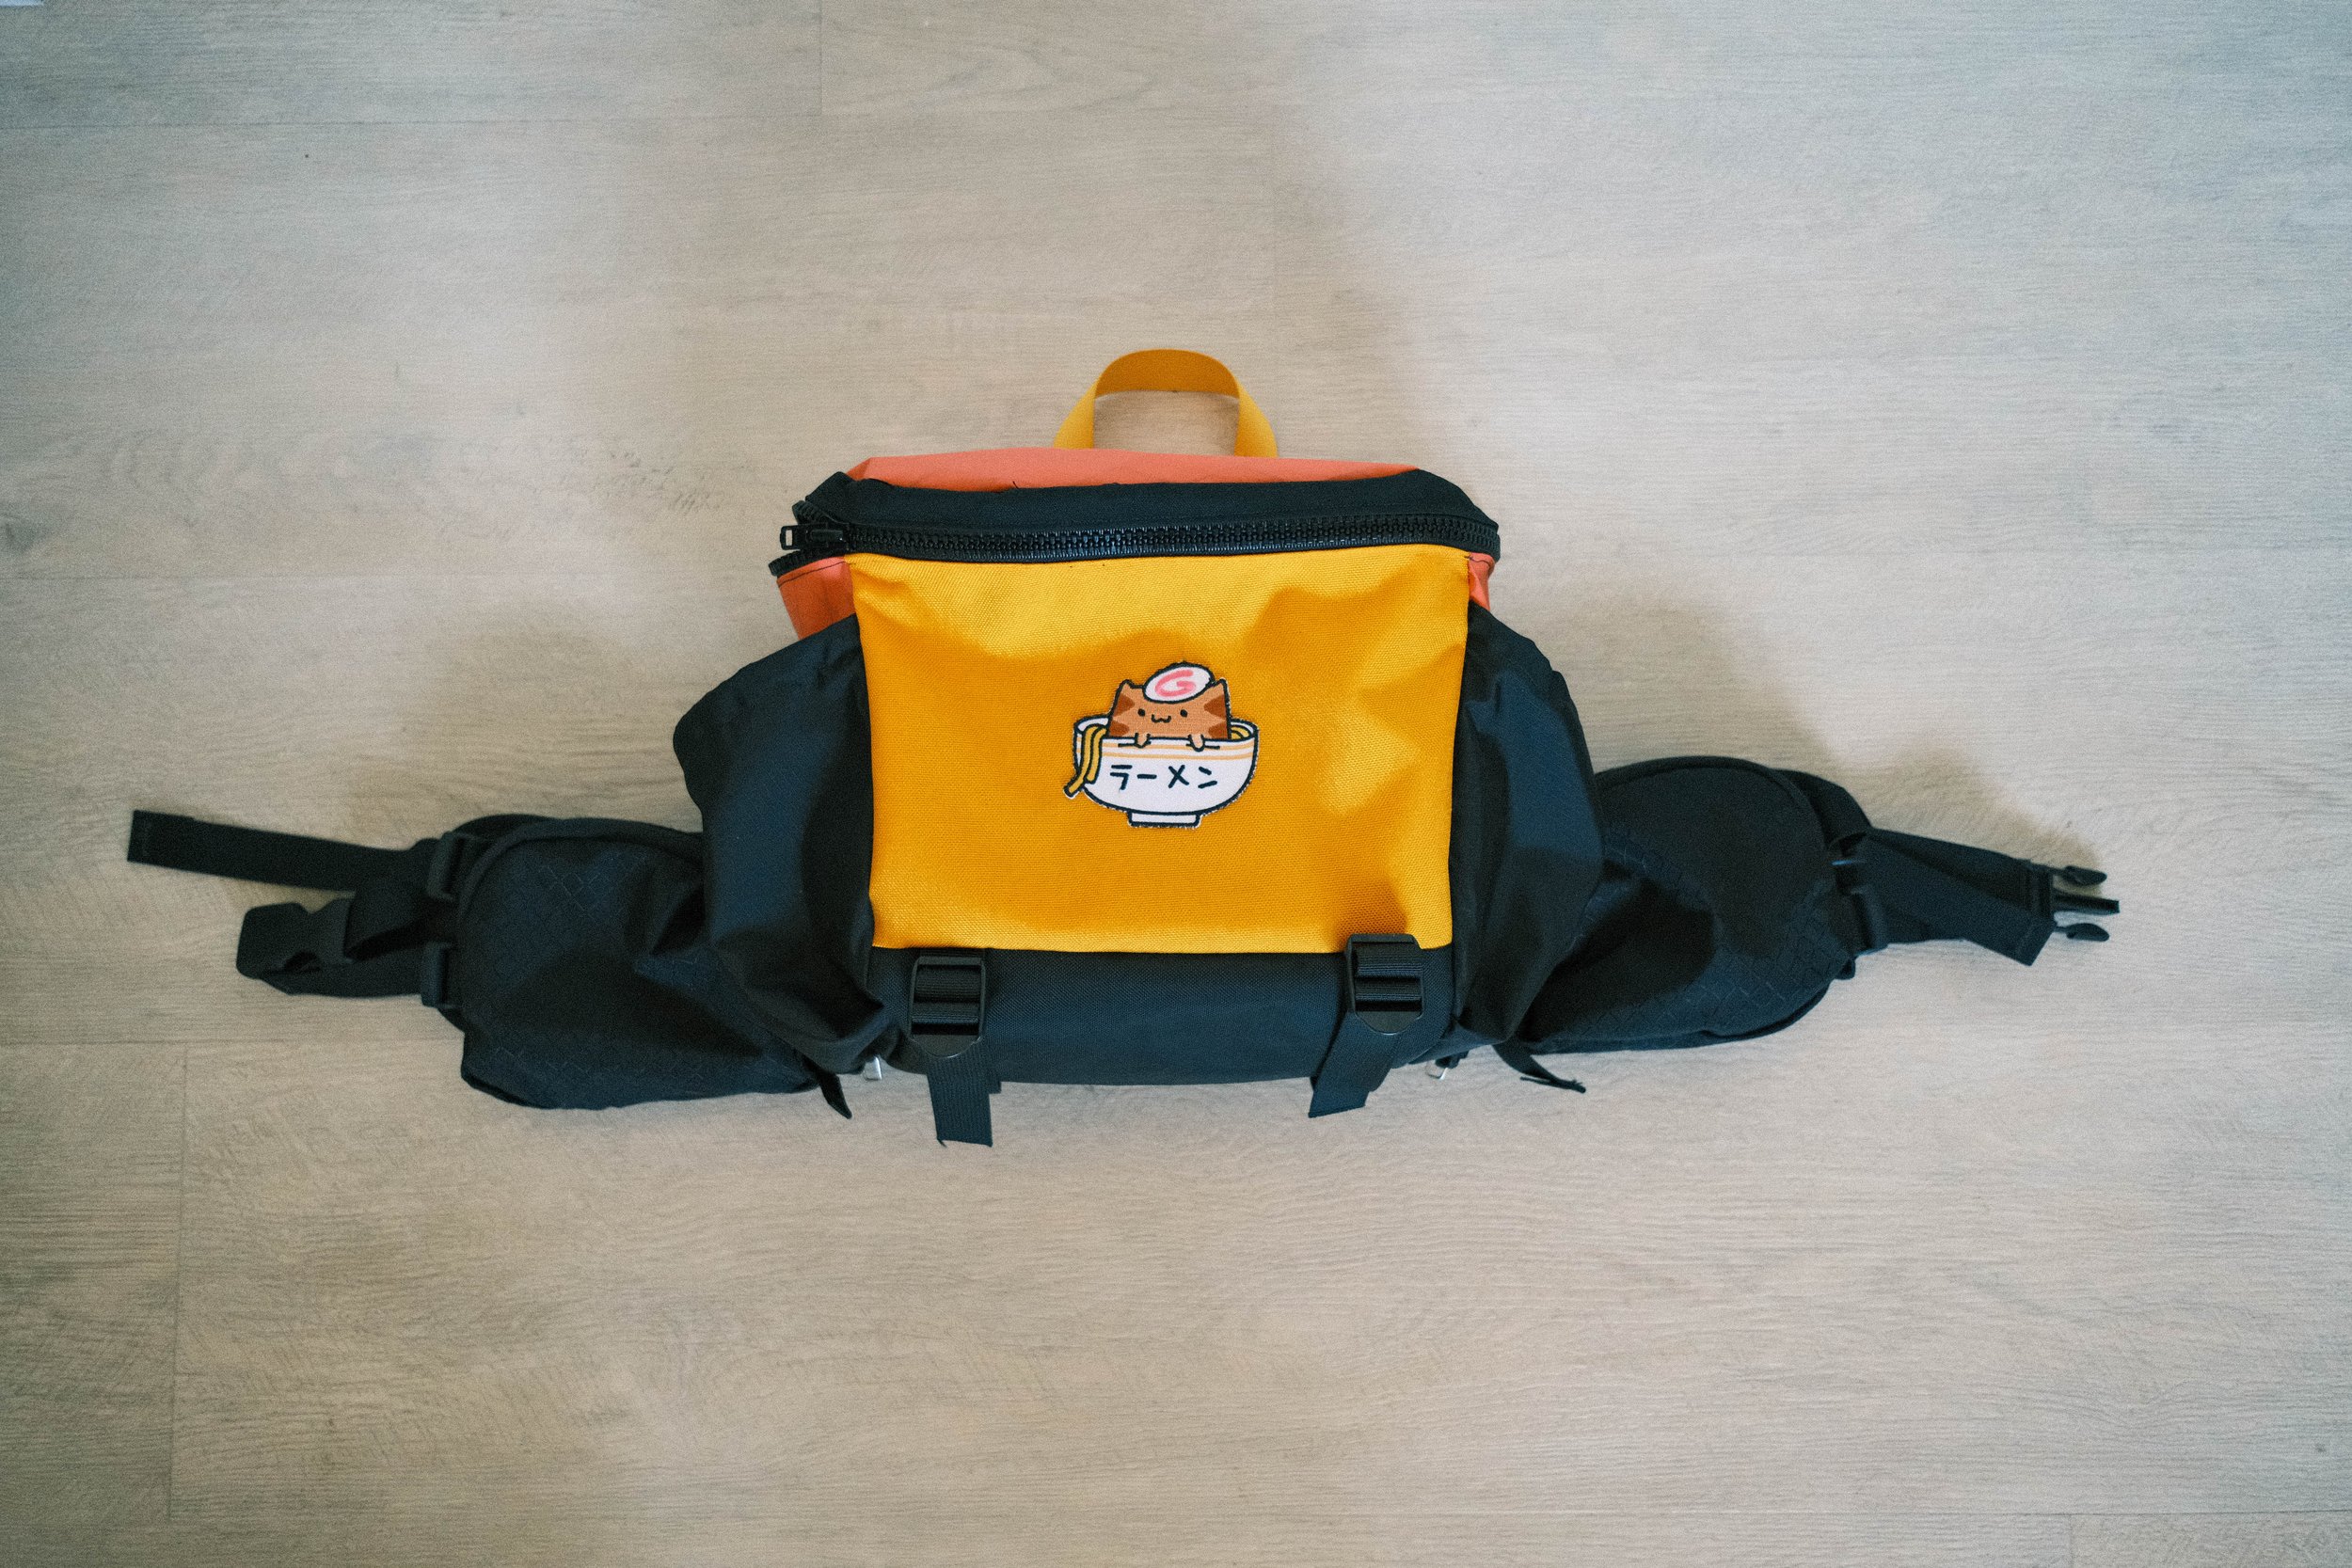
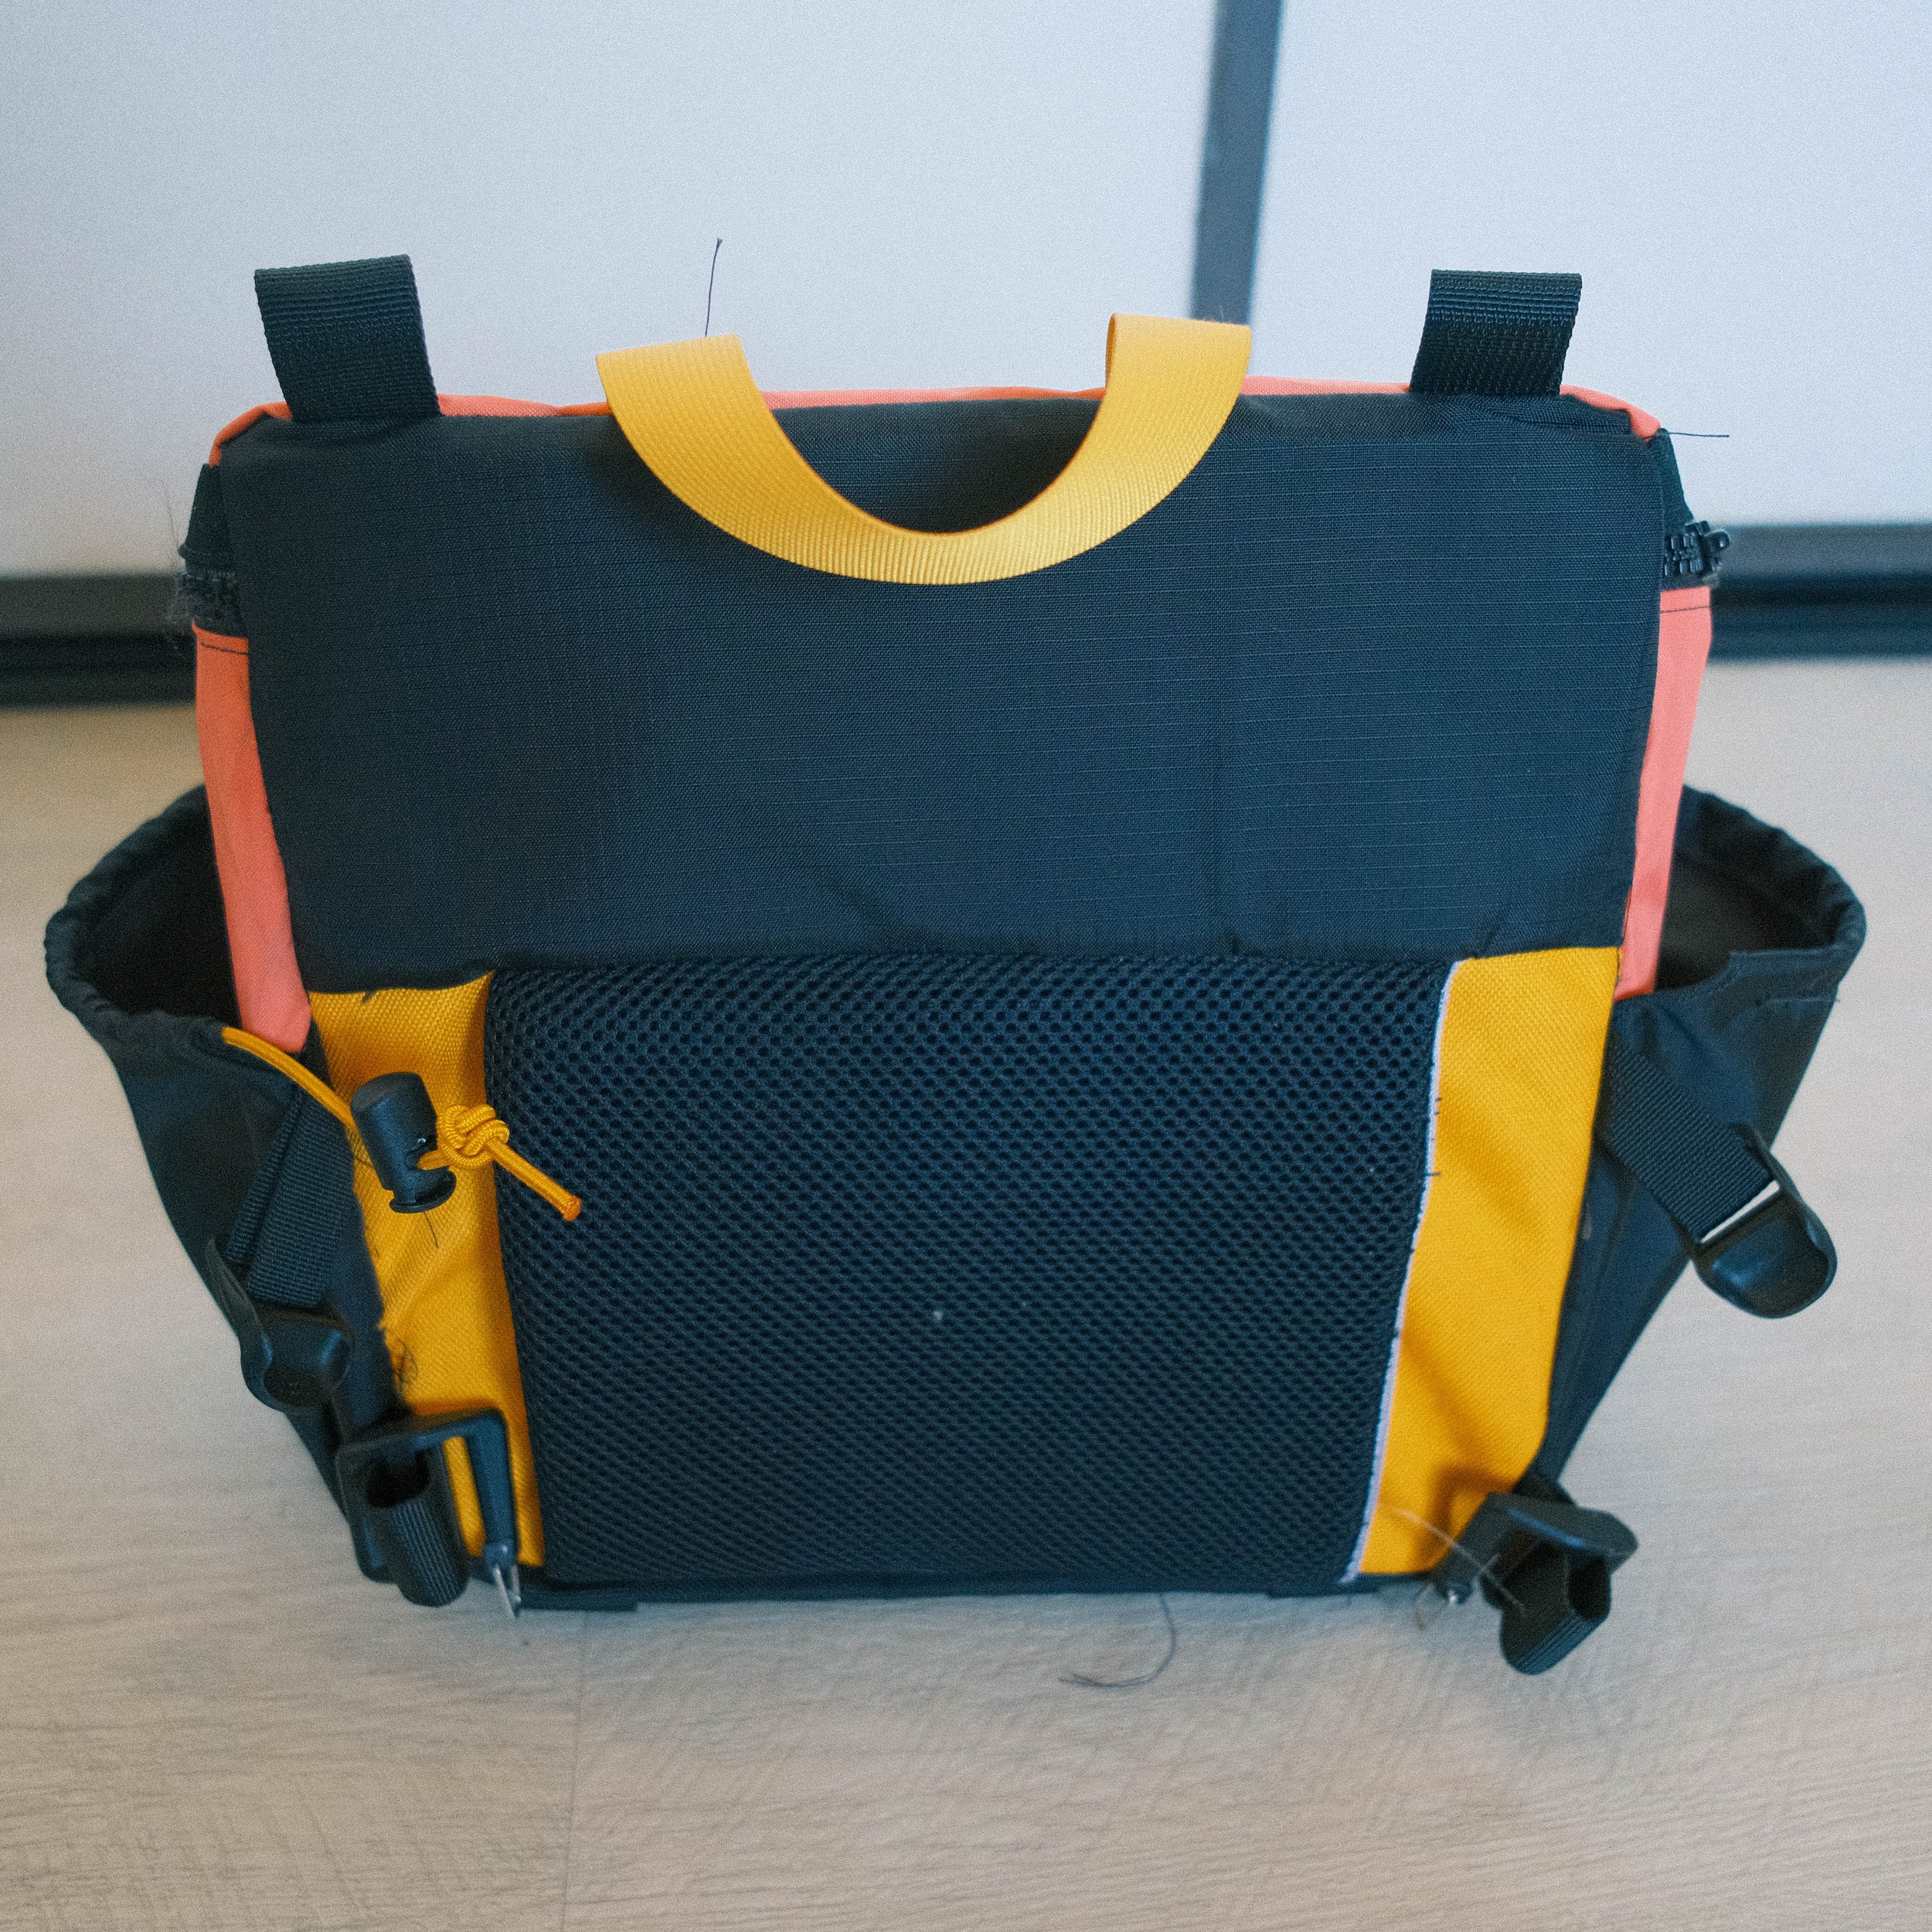
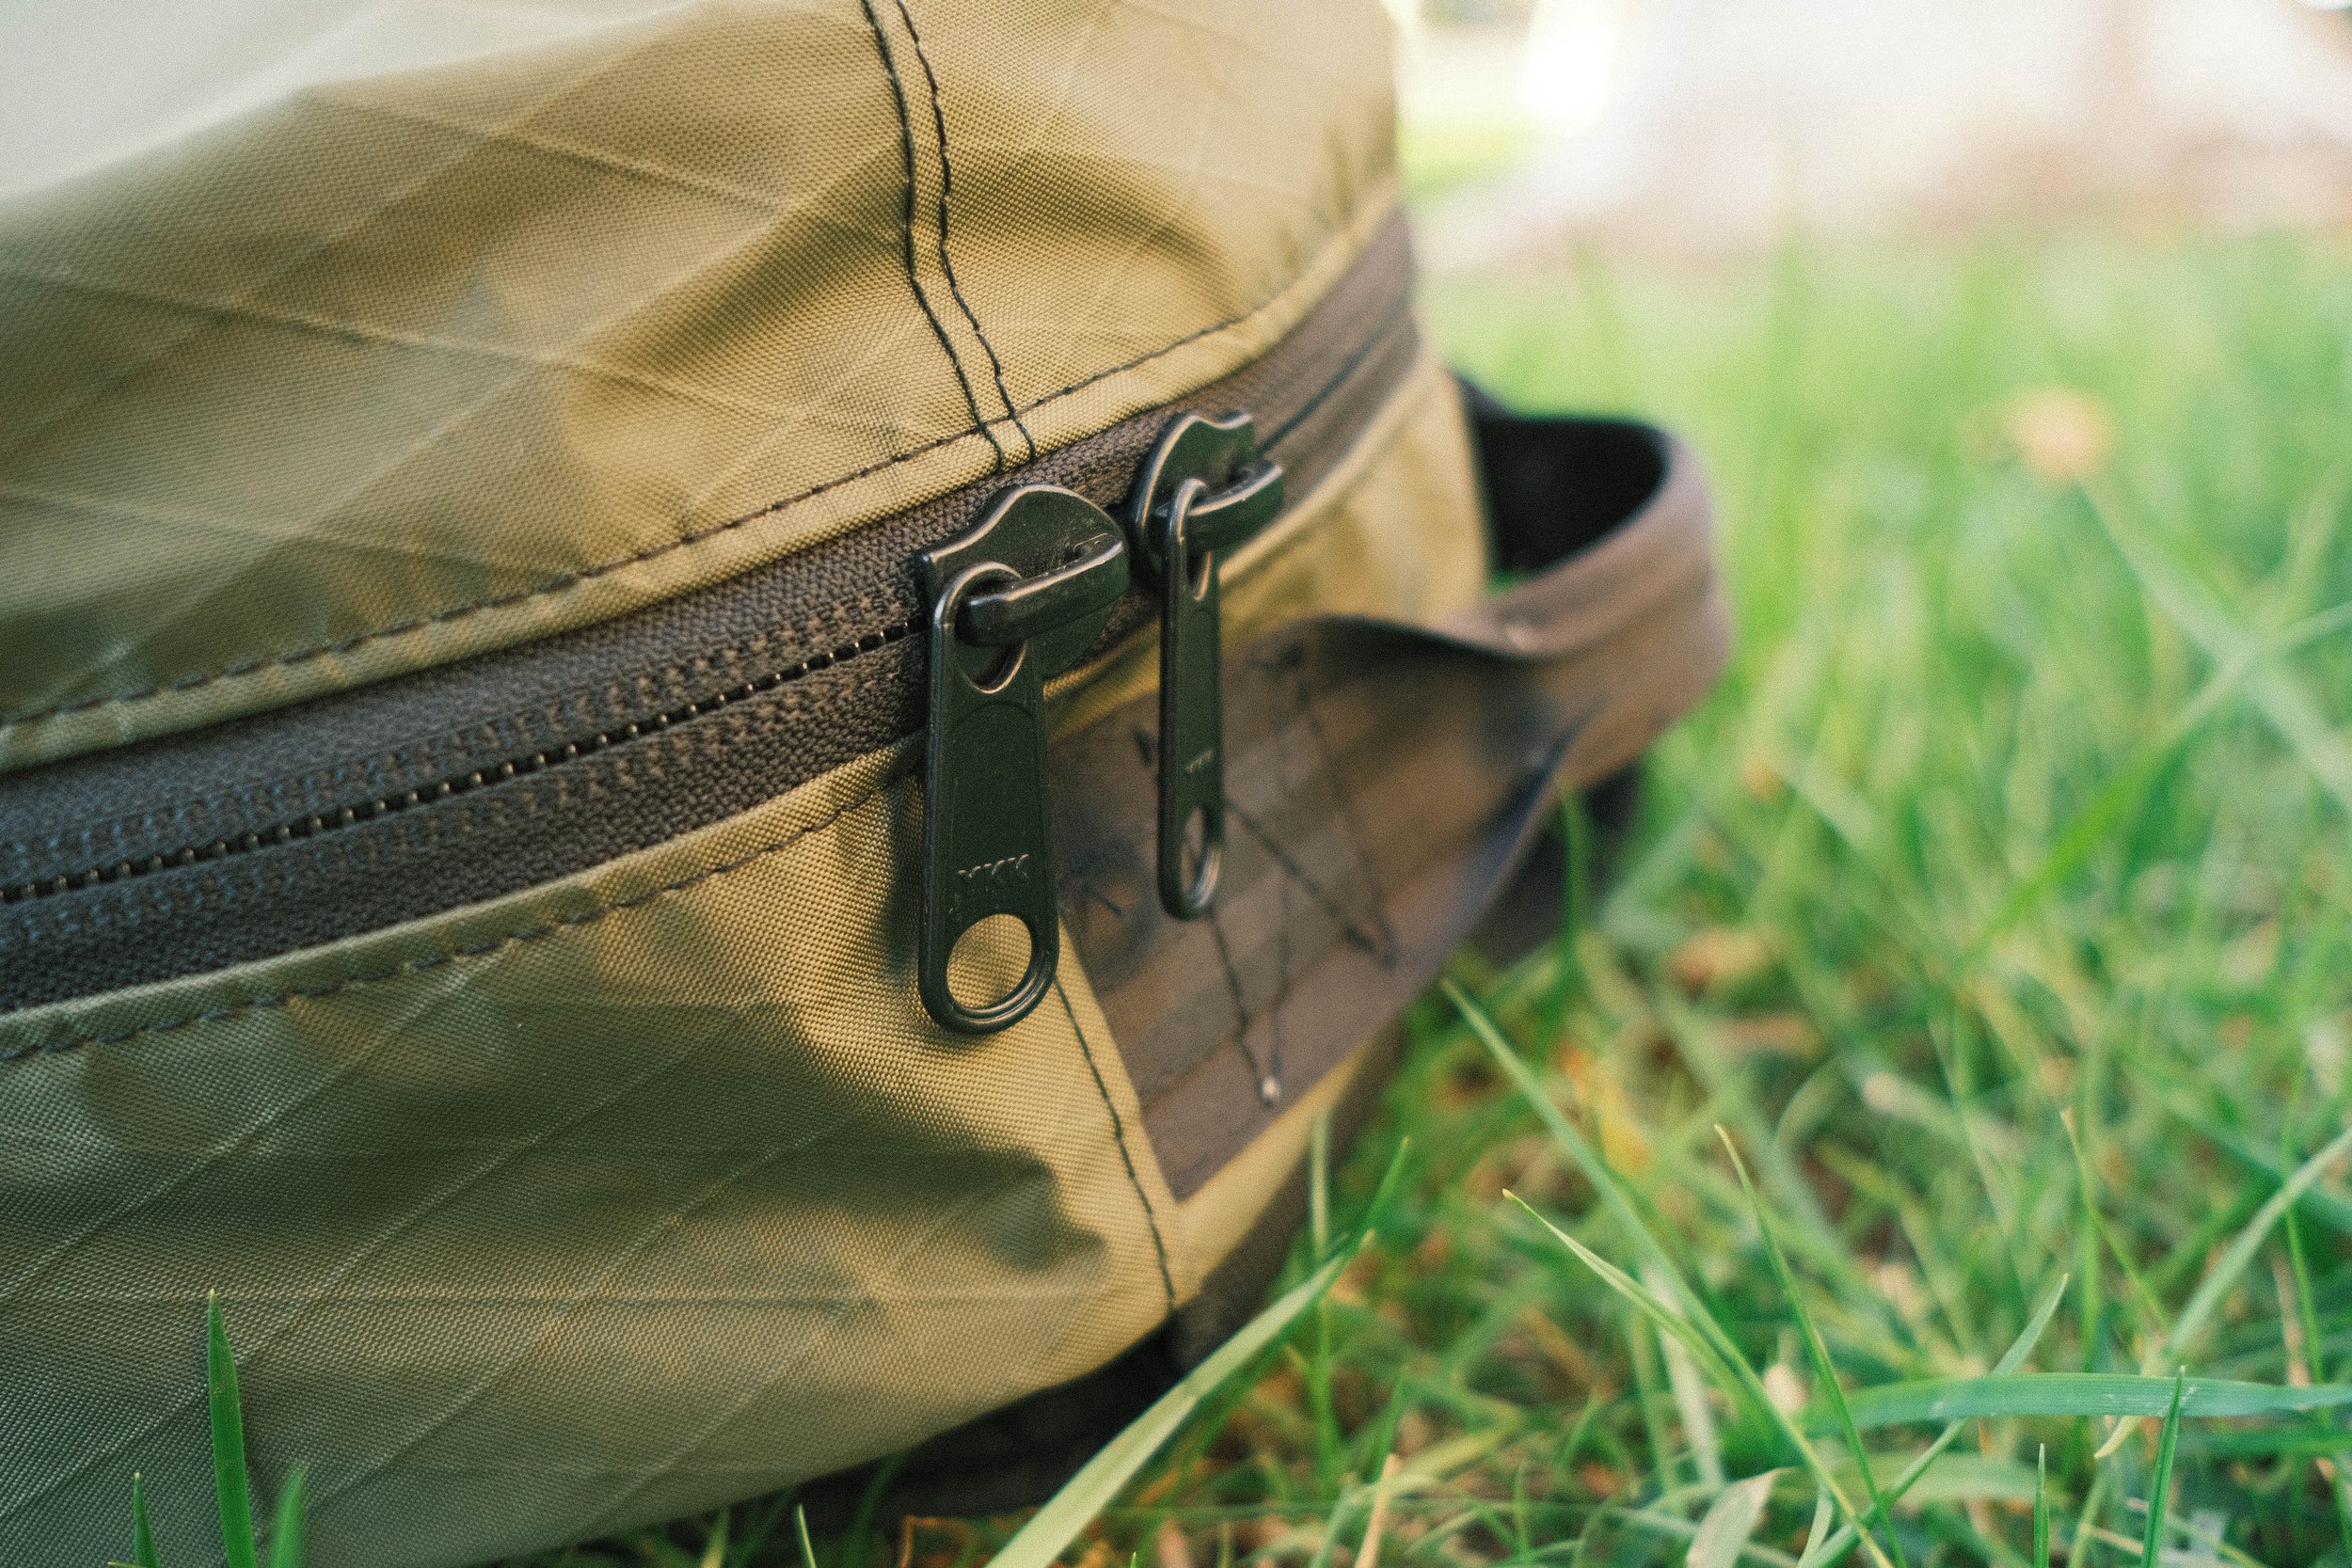
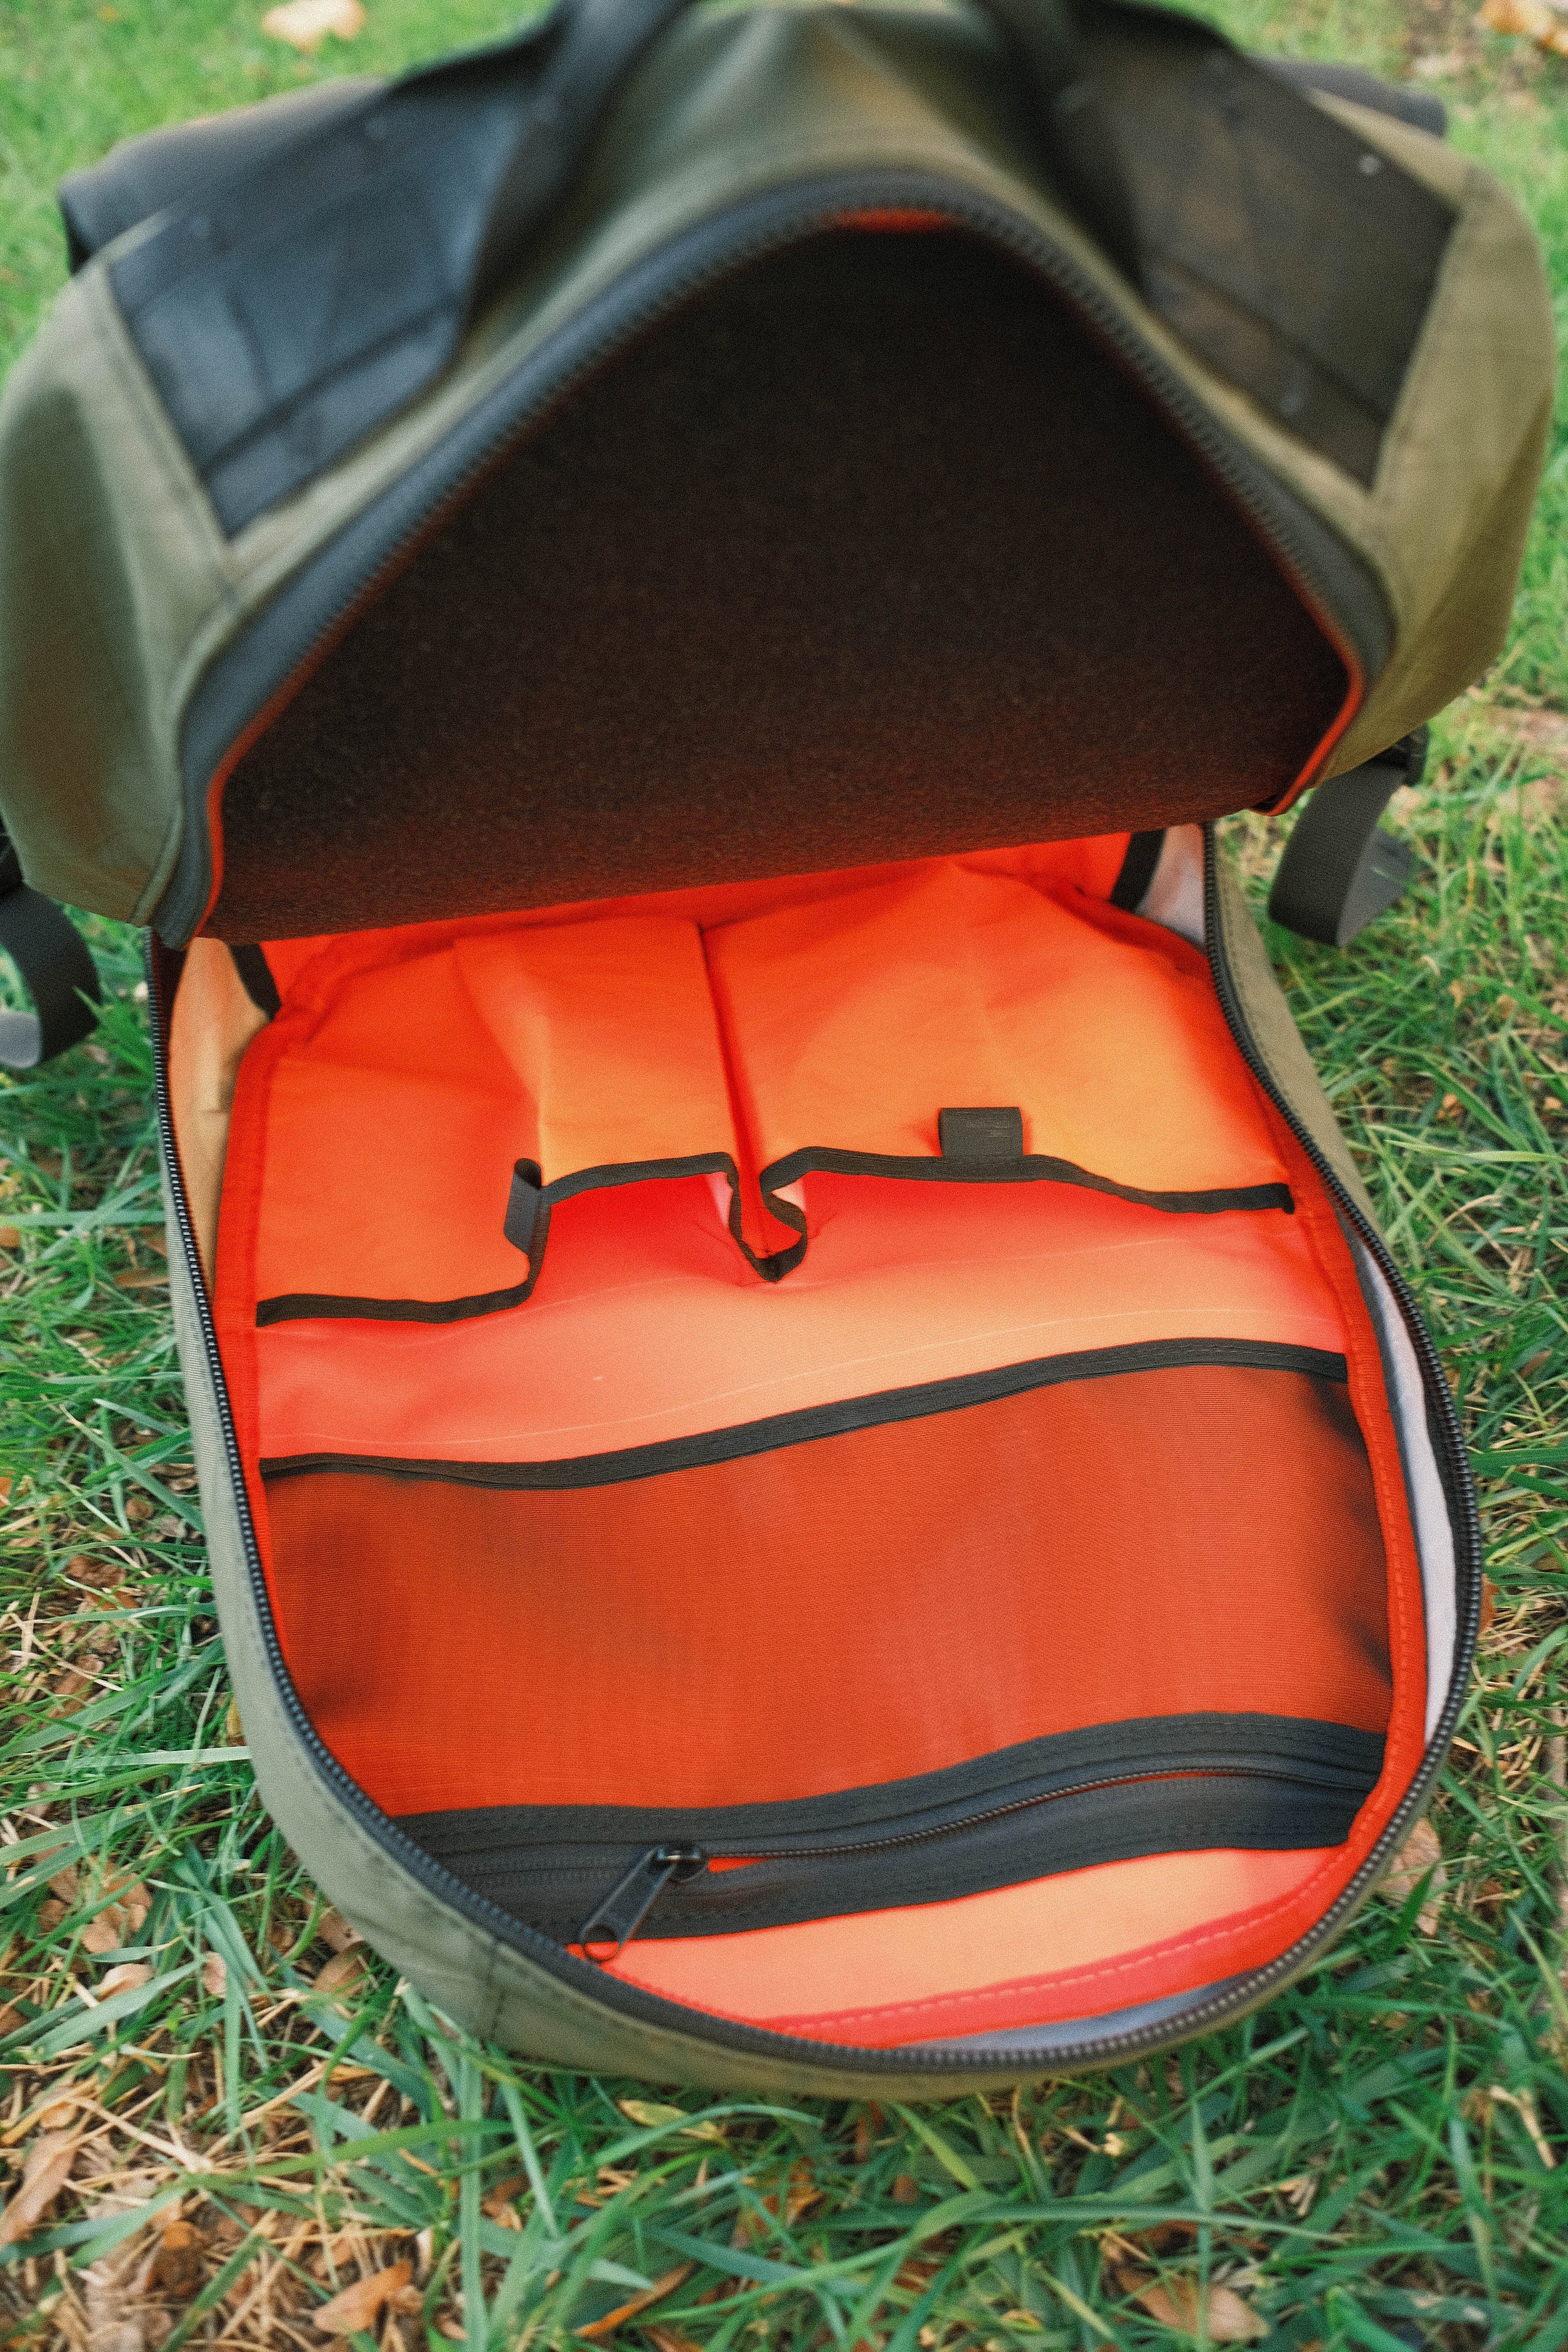
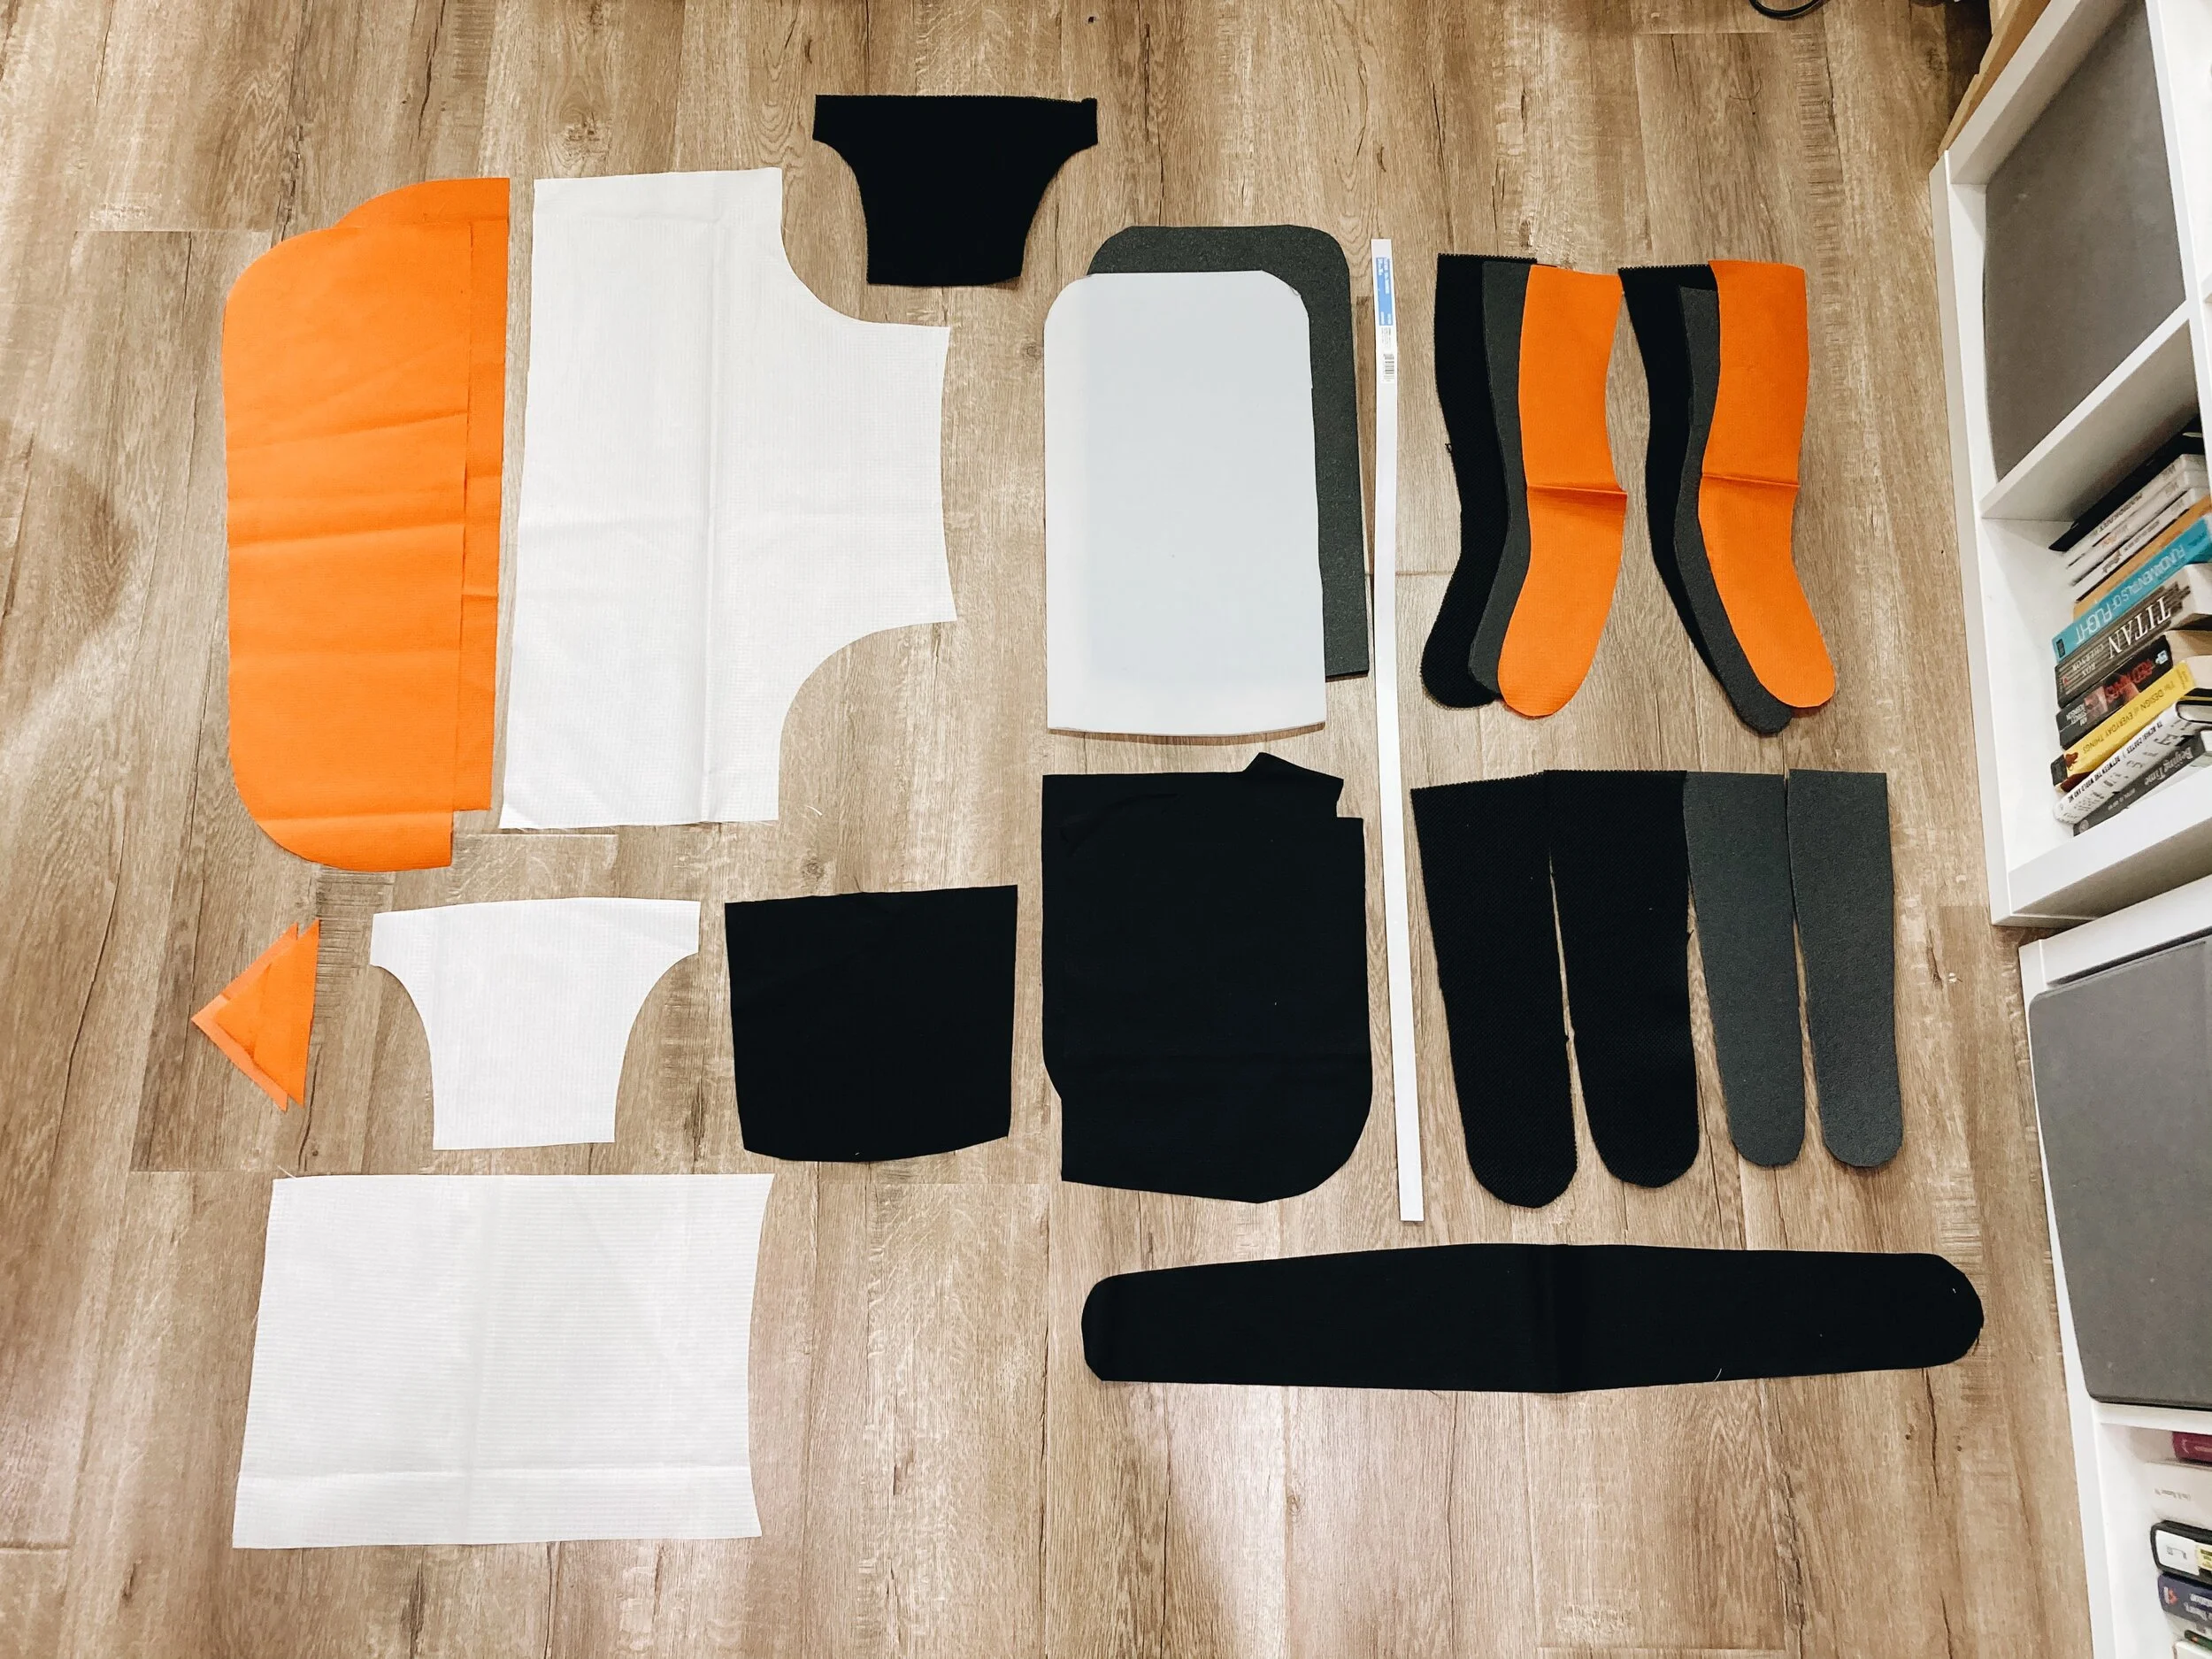
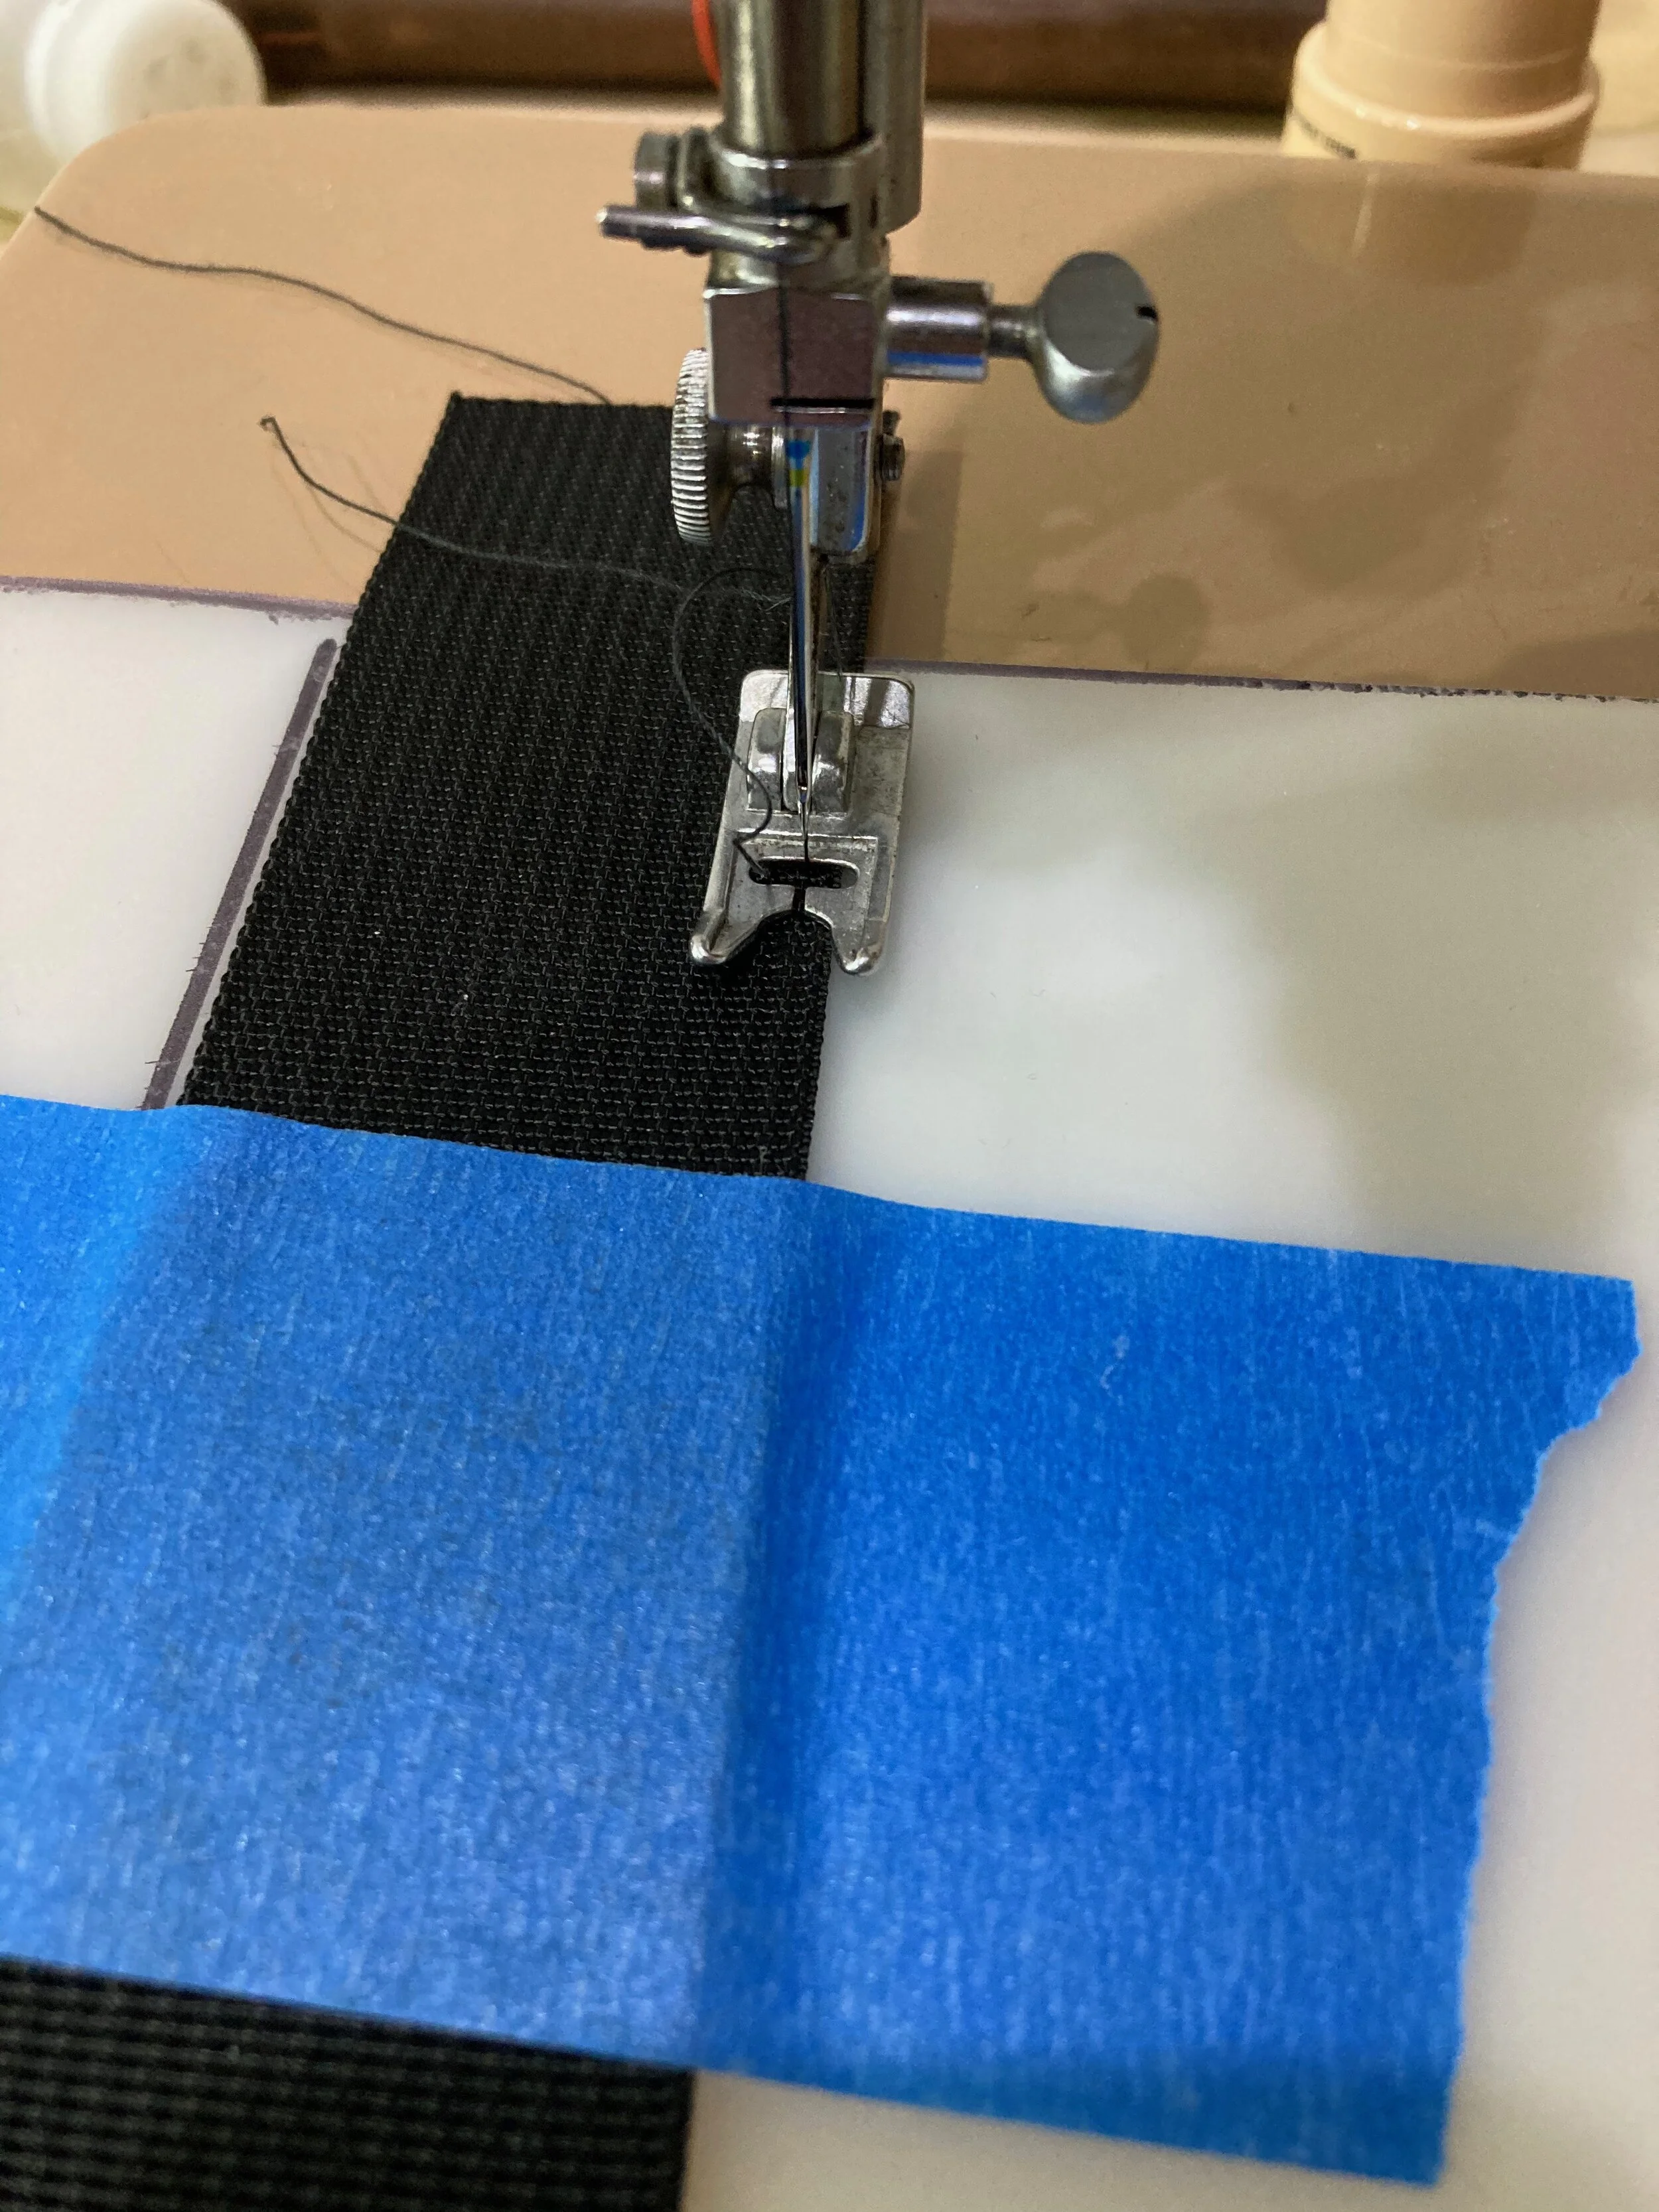
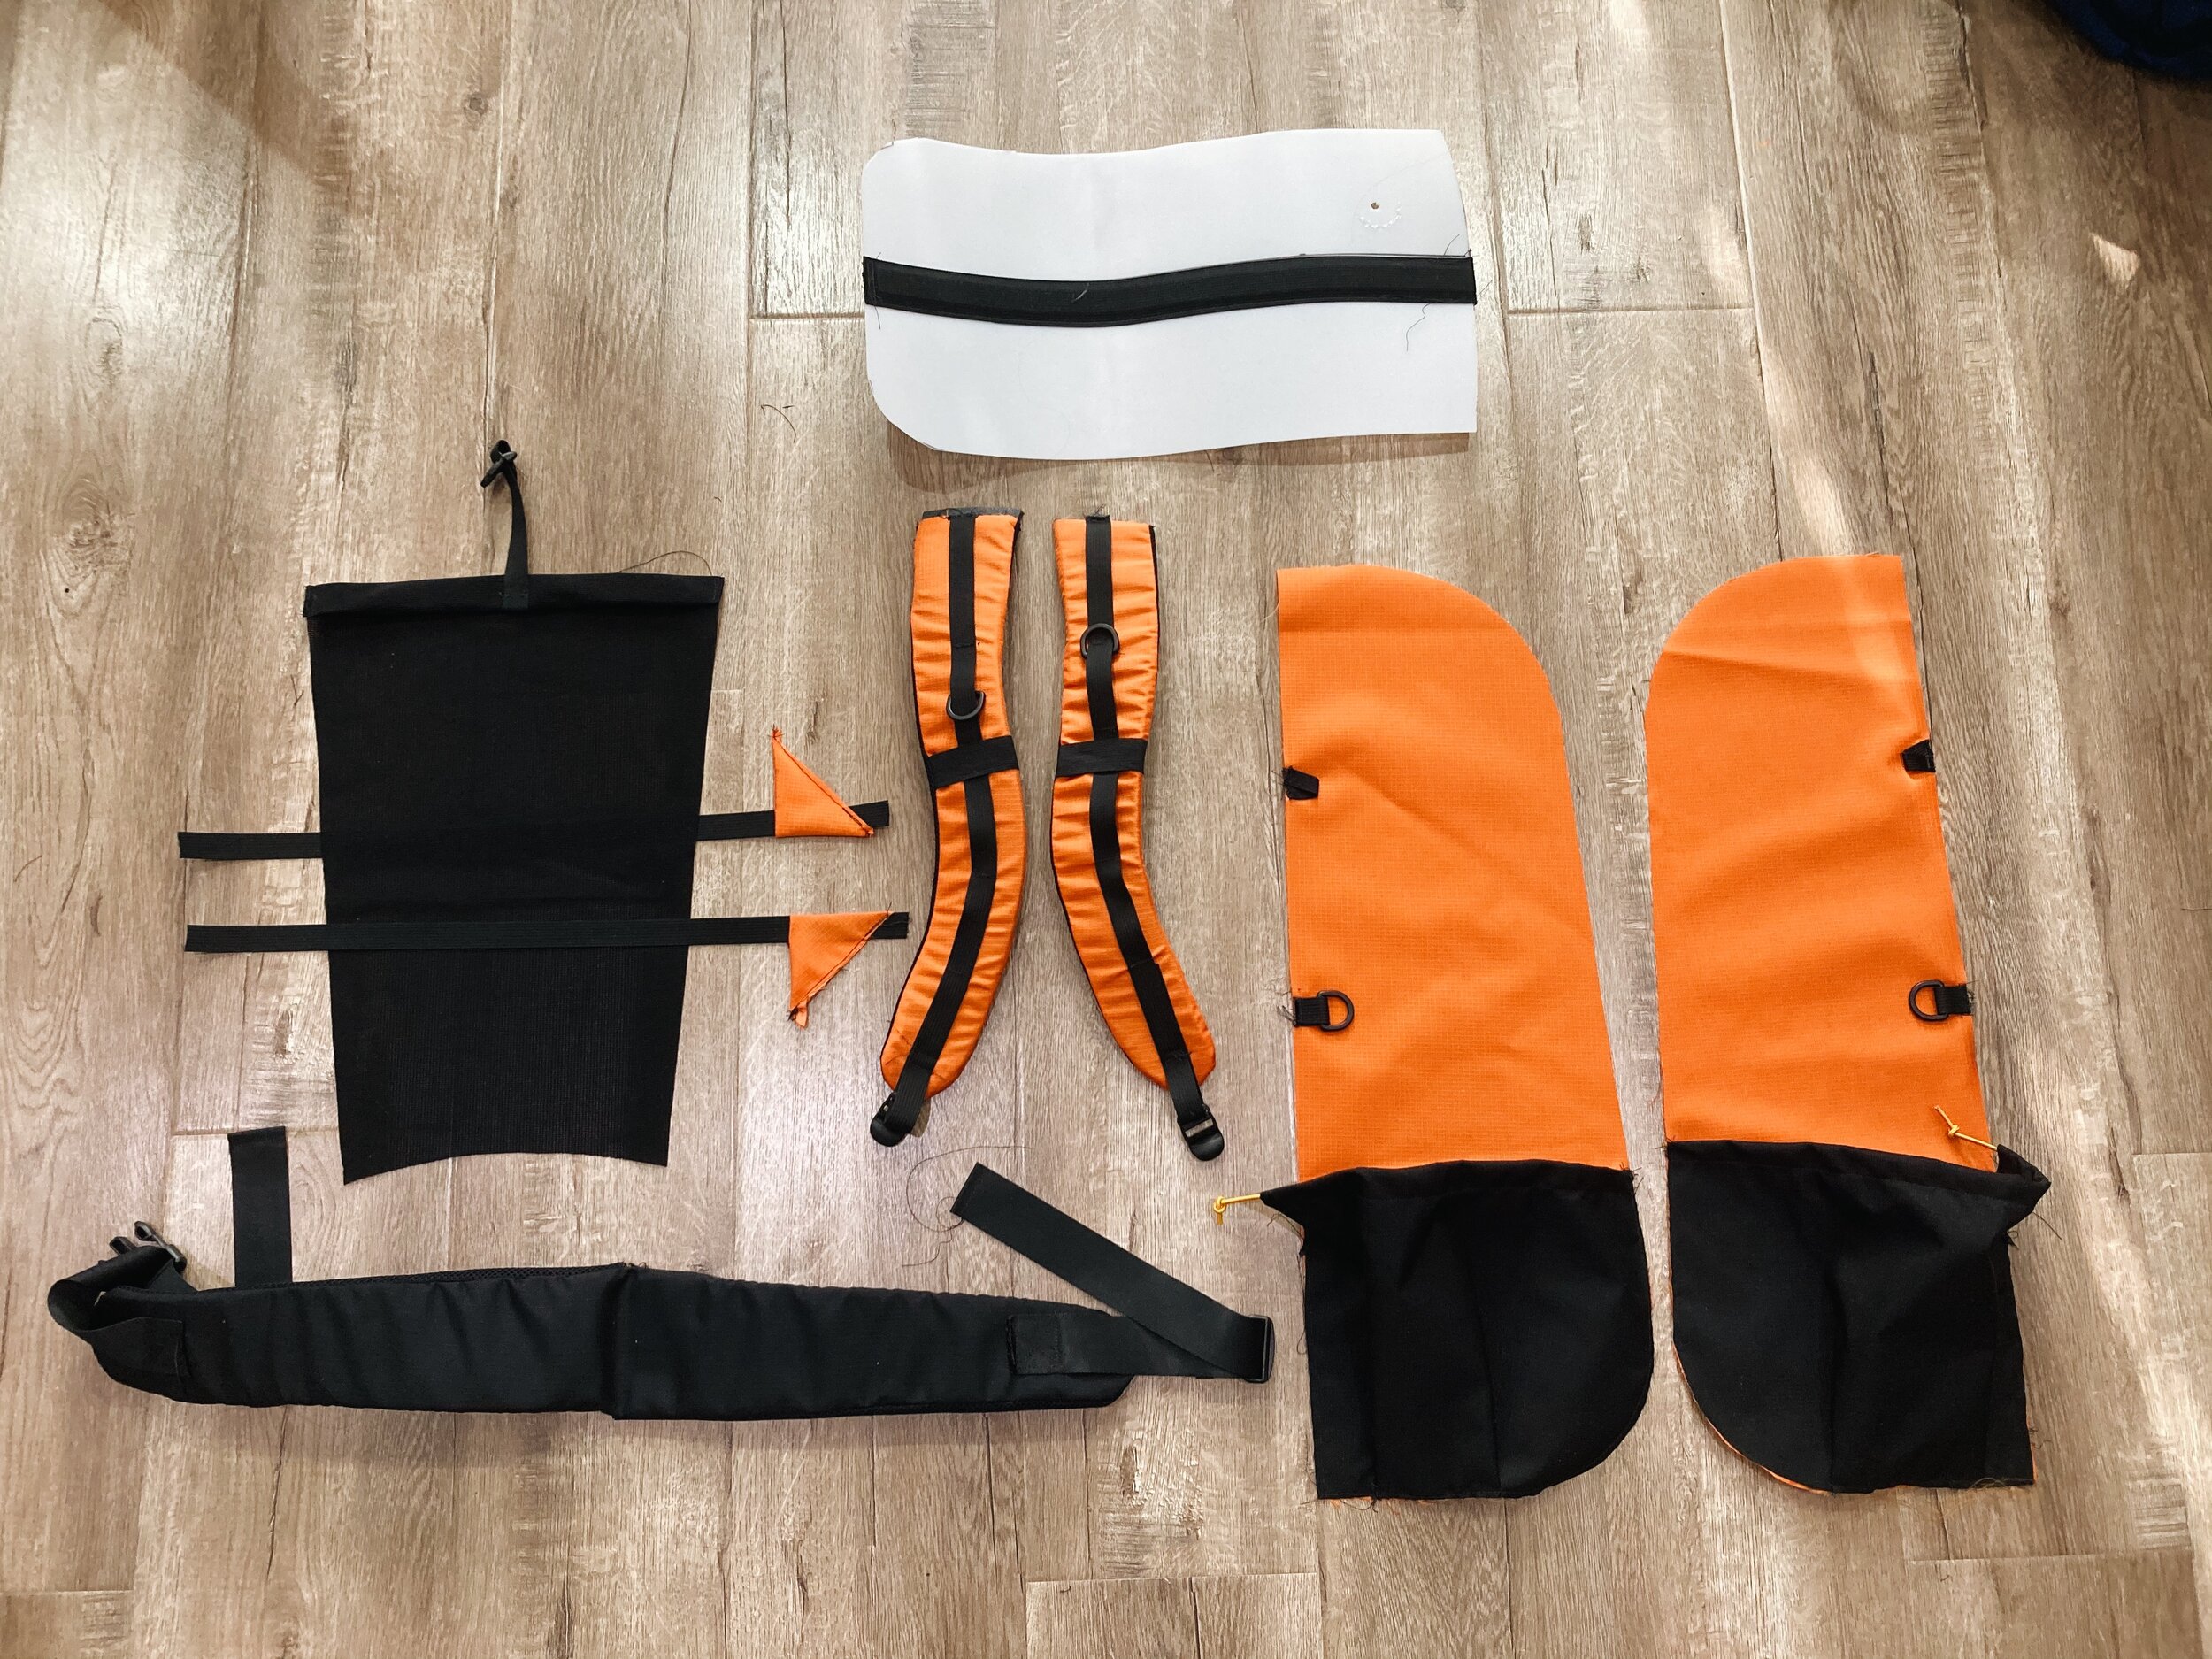
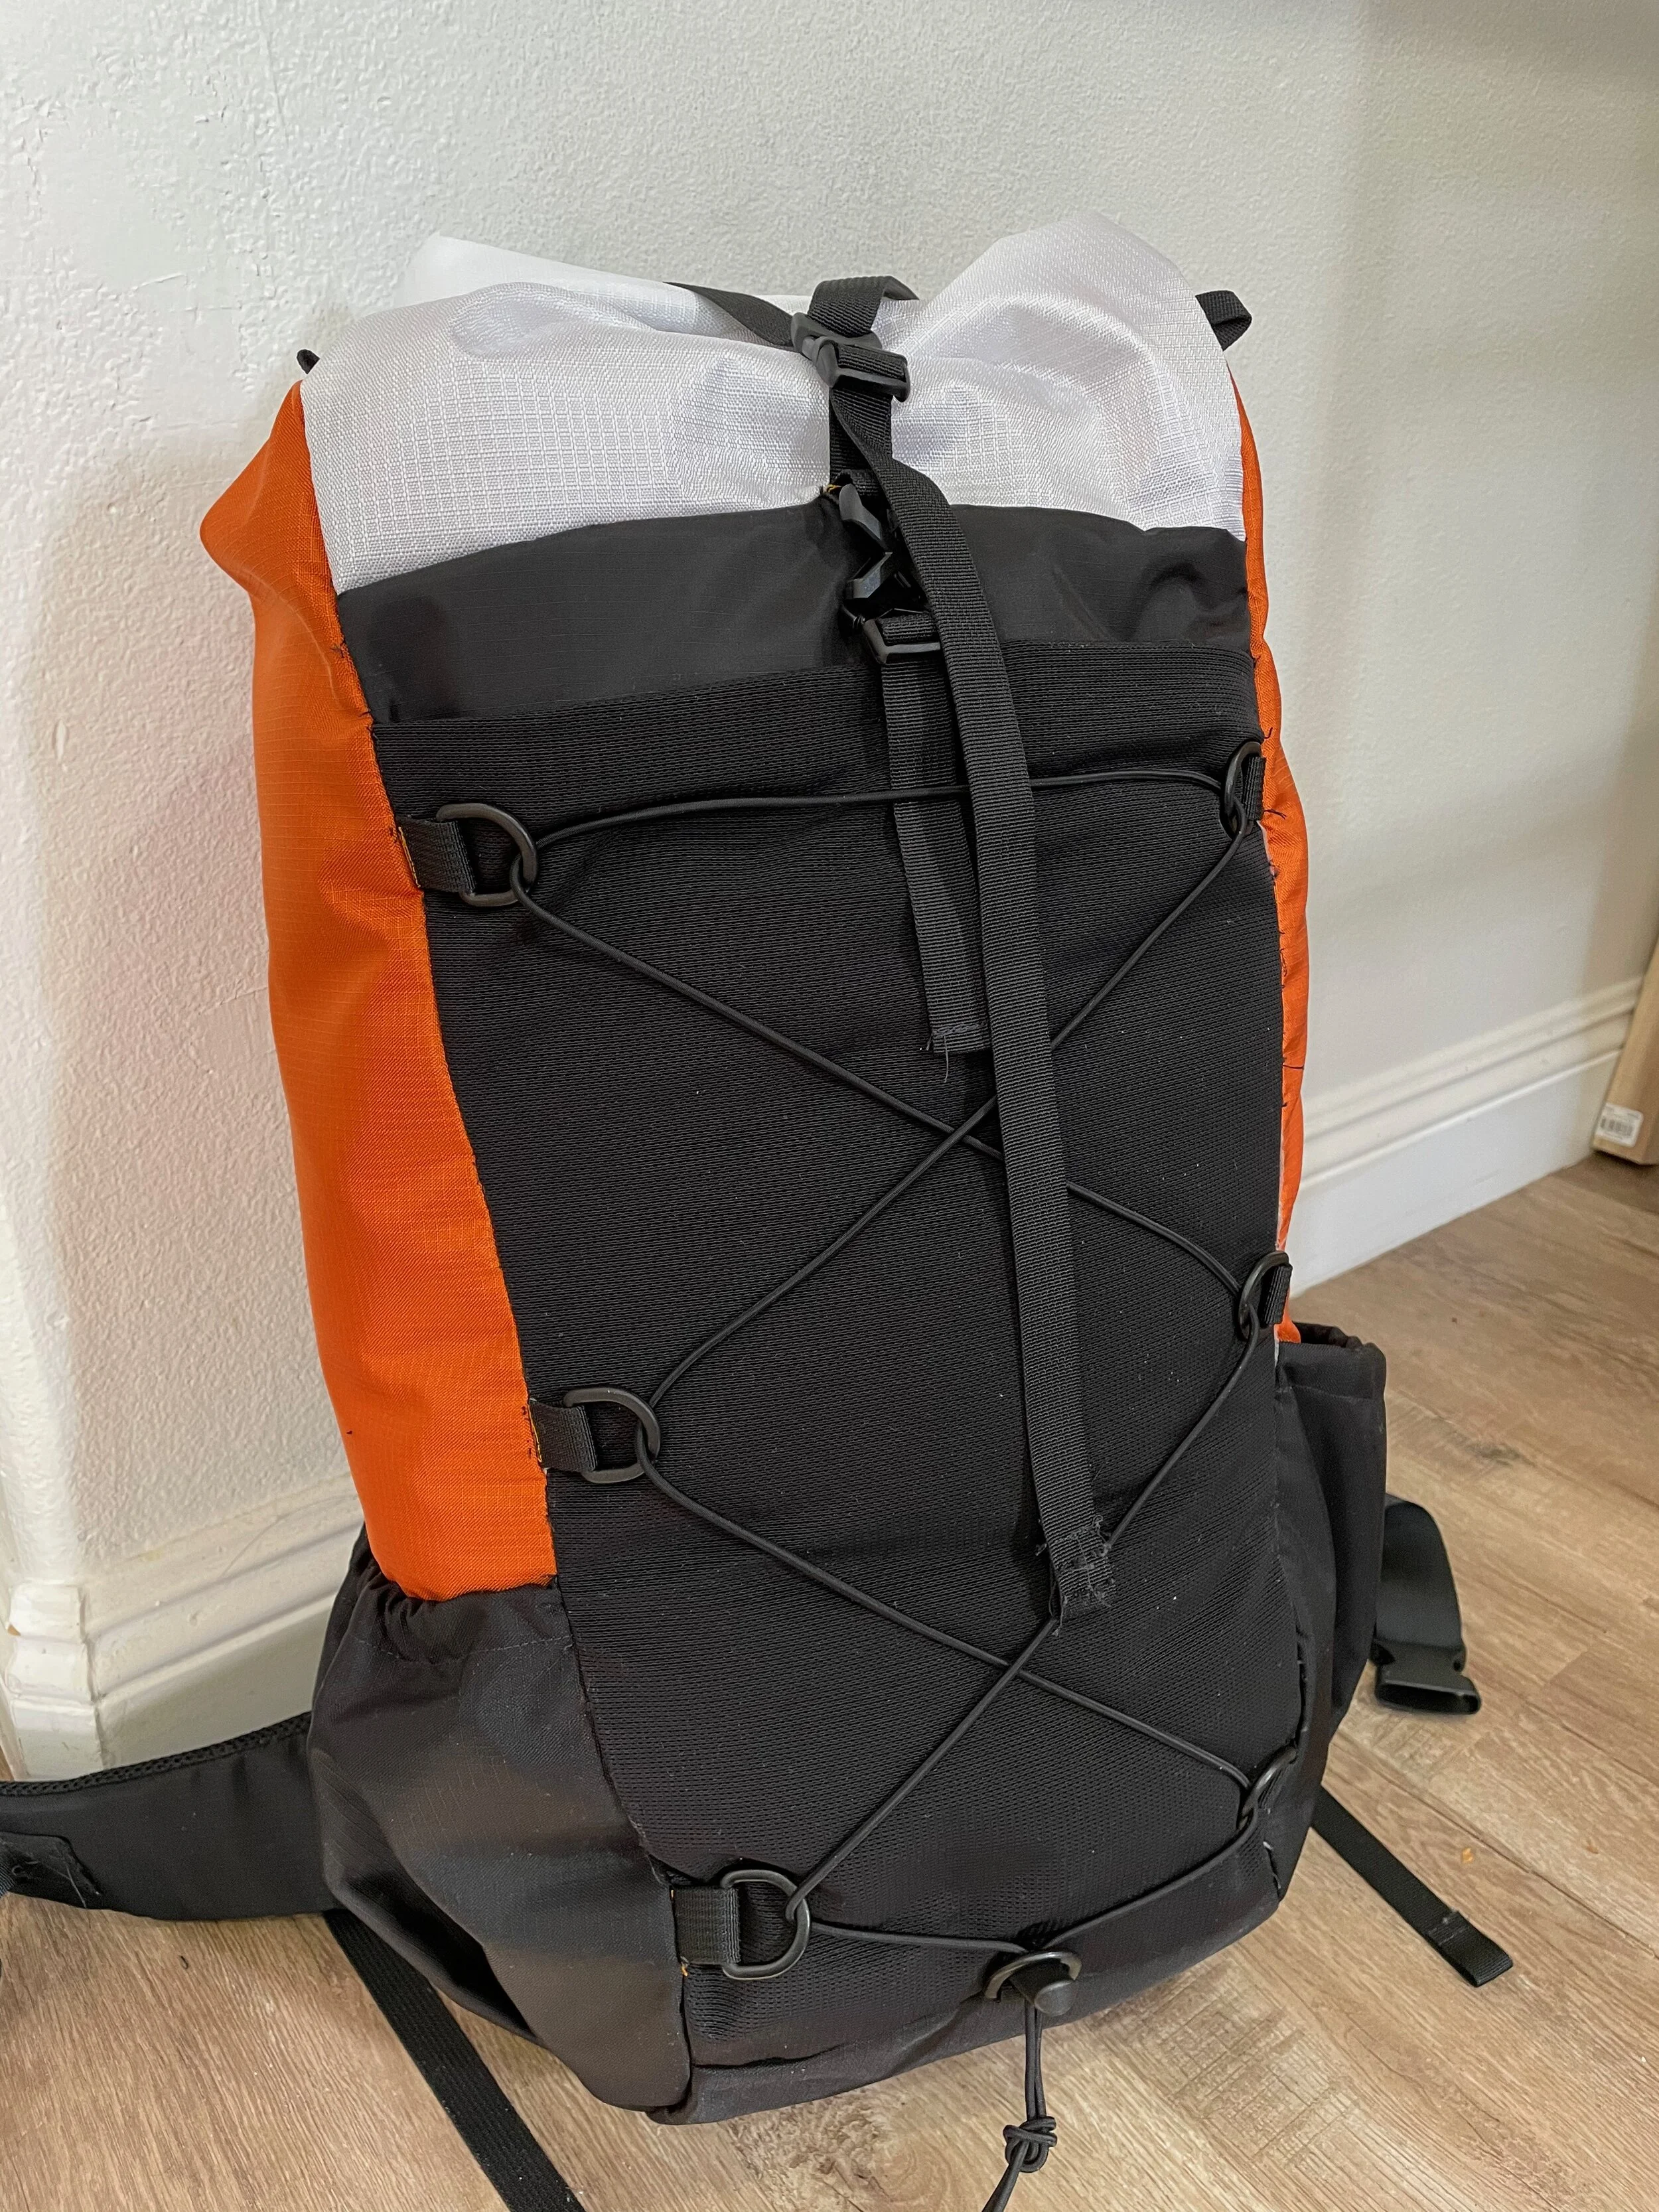
This one was made with Challenge Ultra 400 with a bit of scrap CORDURA®. the back panel and bottom were padded with 1/4 inch foam, and I used FIDLOCK SNAP and HOOK closures for quick access. The shoulder straps are just seatbelt webbing, which I find adequate for lighter loads. the inside is lined with neon yellow CHALLENGE ECOPAK™ EPLX200, and I included an HHH waterproof zipper for direct access into the main compartment. The inside also has a velcro strip to attach another mini waist-belt I made. I keep all of my essentials in the waist belt so I can quickly detach it from the main bag for shorter walks or where a backpack may not be appropriate.

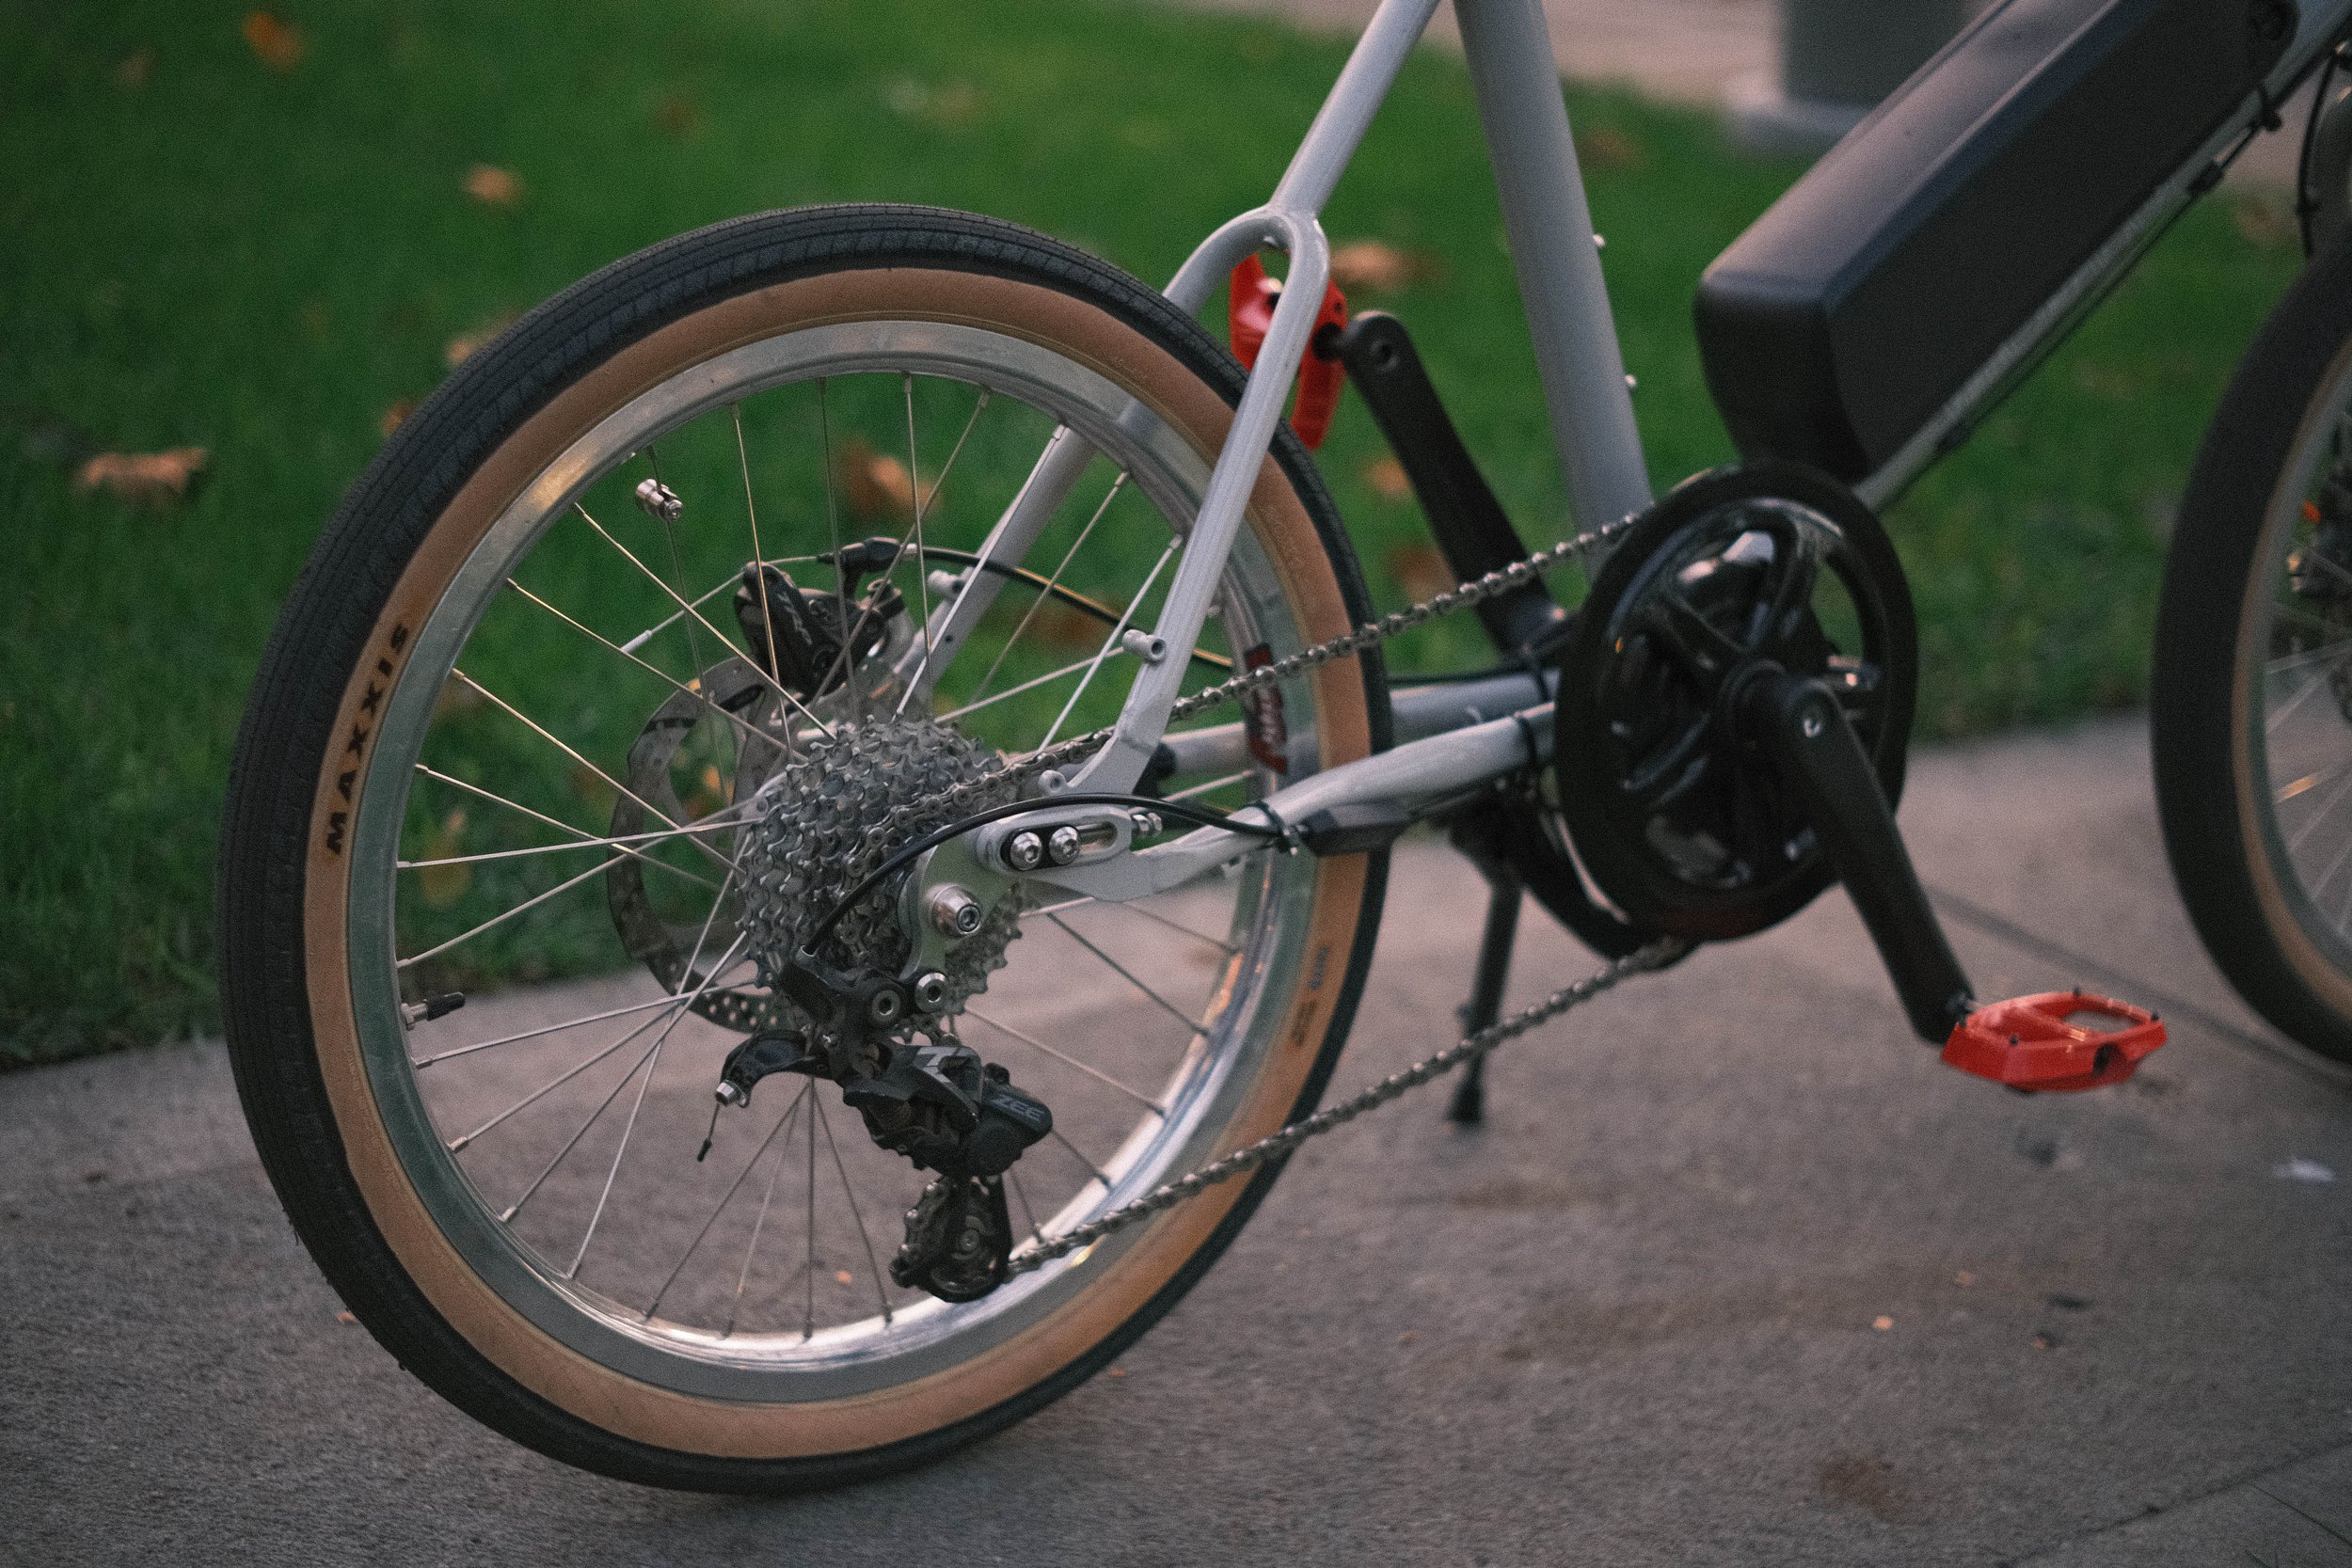
It's a very simple bag overall but I'm quite happy with how it turned out. I've gained more confidence in being able to develop my own patterns to achieve the end result I want, and it's pretty satisfying to have a bag with high-quality materials and hardware that’s entirely homemade! I am also a big fan of the structure and aesthetic of the Ultra 400 fabric. It has a nice technical look to it, but the subtle texture and wrinkles make it more visually interesting than a flat black. I think it contrasts well against the CORDURA side panels, the webbing, and the waterproof zippers. I’ve been using this bag every day for about a week now, and have been pleasantly surprised by how comfortable and usable it is. I expected there to be more points of improvement given that it was only my second iteration, but I’m fairly confident that the size, structure, and access are appropriate for solving my intended use case. I’m more concerned about long-term durability of the shock cord and how the FIDLOCK magnets were attached to the fabric. For the next project, I want to create an aesthetically similar waist bag using the FIDLOCK closure, and a Brompton front bag for future bike touring.